For my senior project at Cal Poly, I identified an opportunity to improve a critical step in the Independent Spent Fuel Storage Installation (ISFSI) process. This is a process where the Diablo Canyon Power plant, which PG&E operates, takes spent nuclear fuel from short-term storage and transports it into long-term storage. I proposed the redesign of a camera jig used during fuel transfer operations and successfully pitched the idea to the senior Mechanical Engineering class, forming a four-person team to take on the challenge.
In a leadership role, I guided the project from initial concept through detailed design. I facilitated team discussions with our coach and sponsor, coordinated responsibilities, and ensured the project met both engineering goals and sponsor expectations.
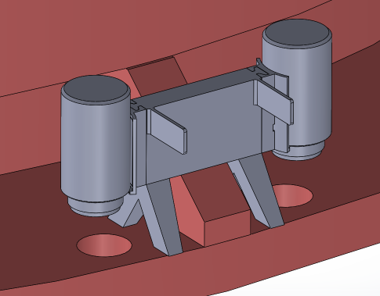
The original jig had become damaged from years of use, lacked secure constraints for the cameras it held, and could not support newer, larger camera models. Our team focused on creating a more robust and adaptable design capable of supporting various camera sizes while maintaining alignment accuracy and ease of operation.
__________________________________________________________________________________________
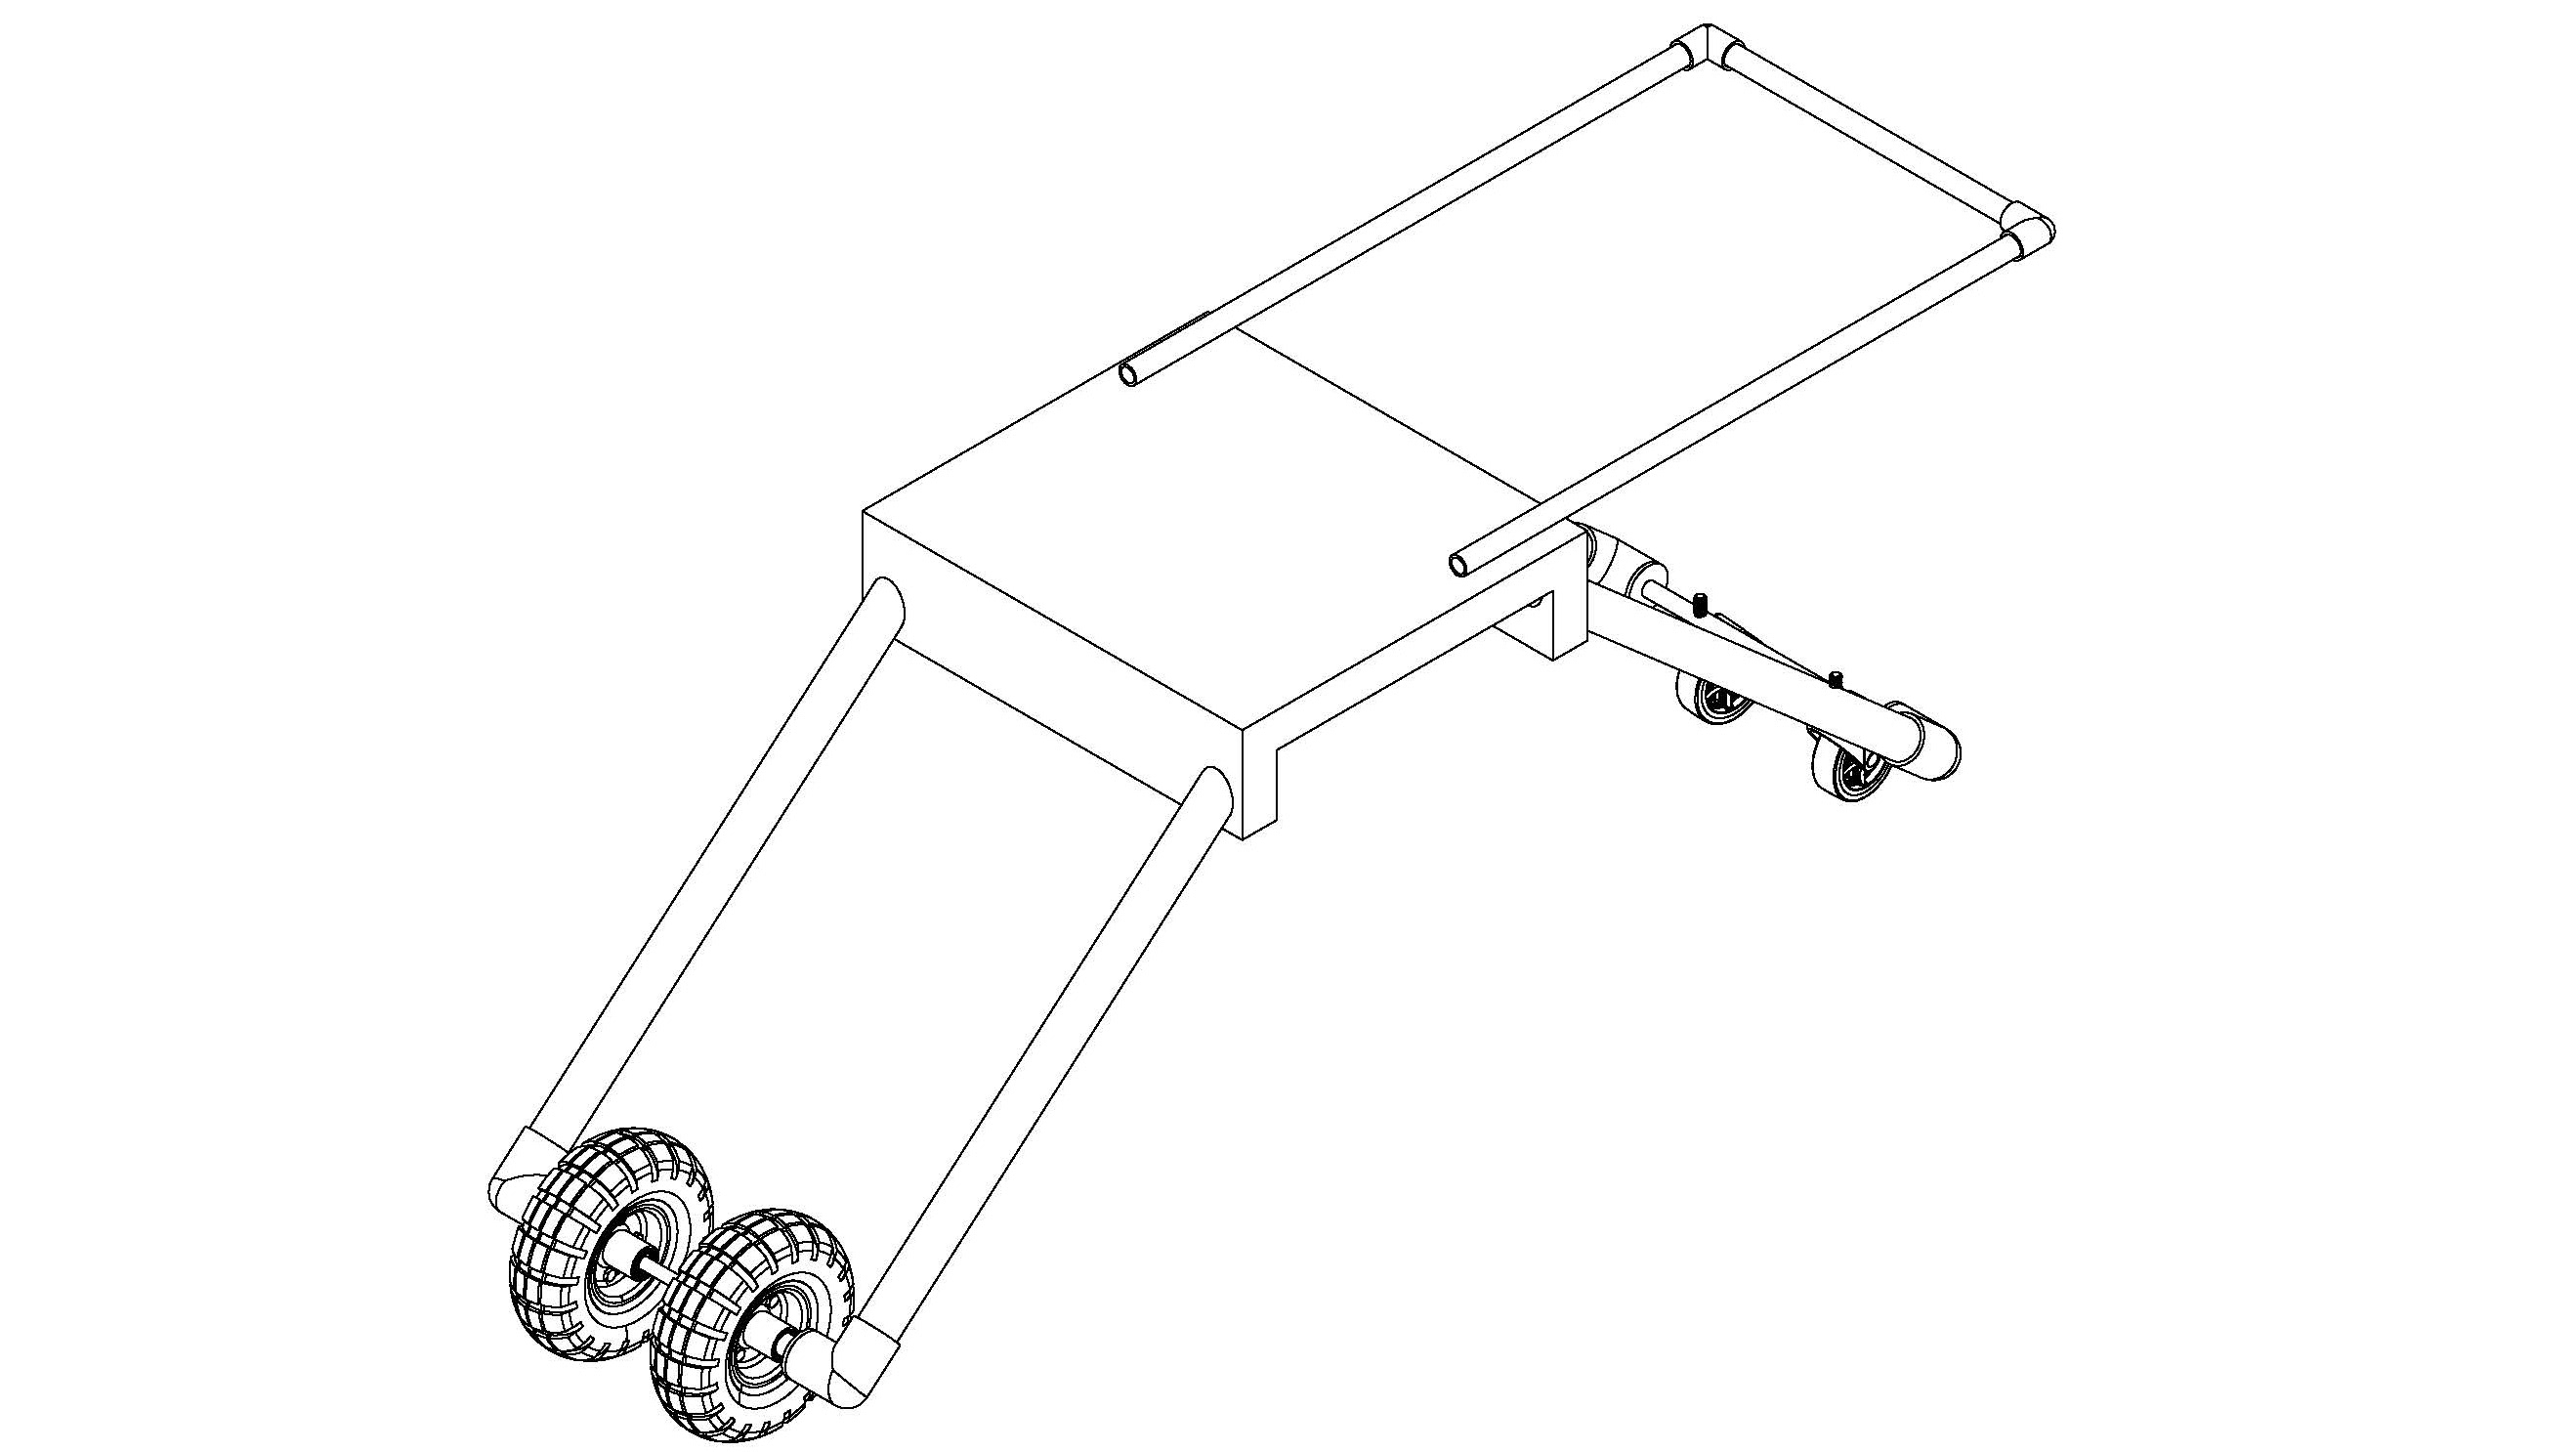
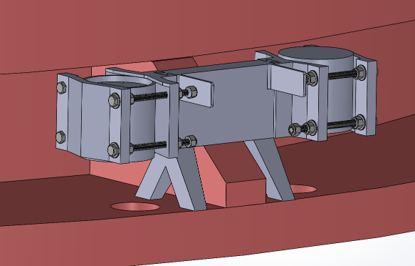
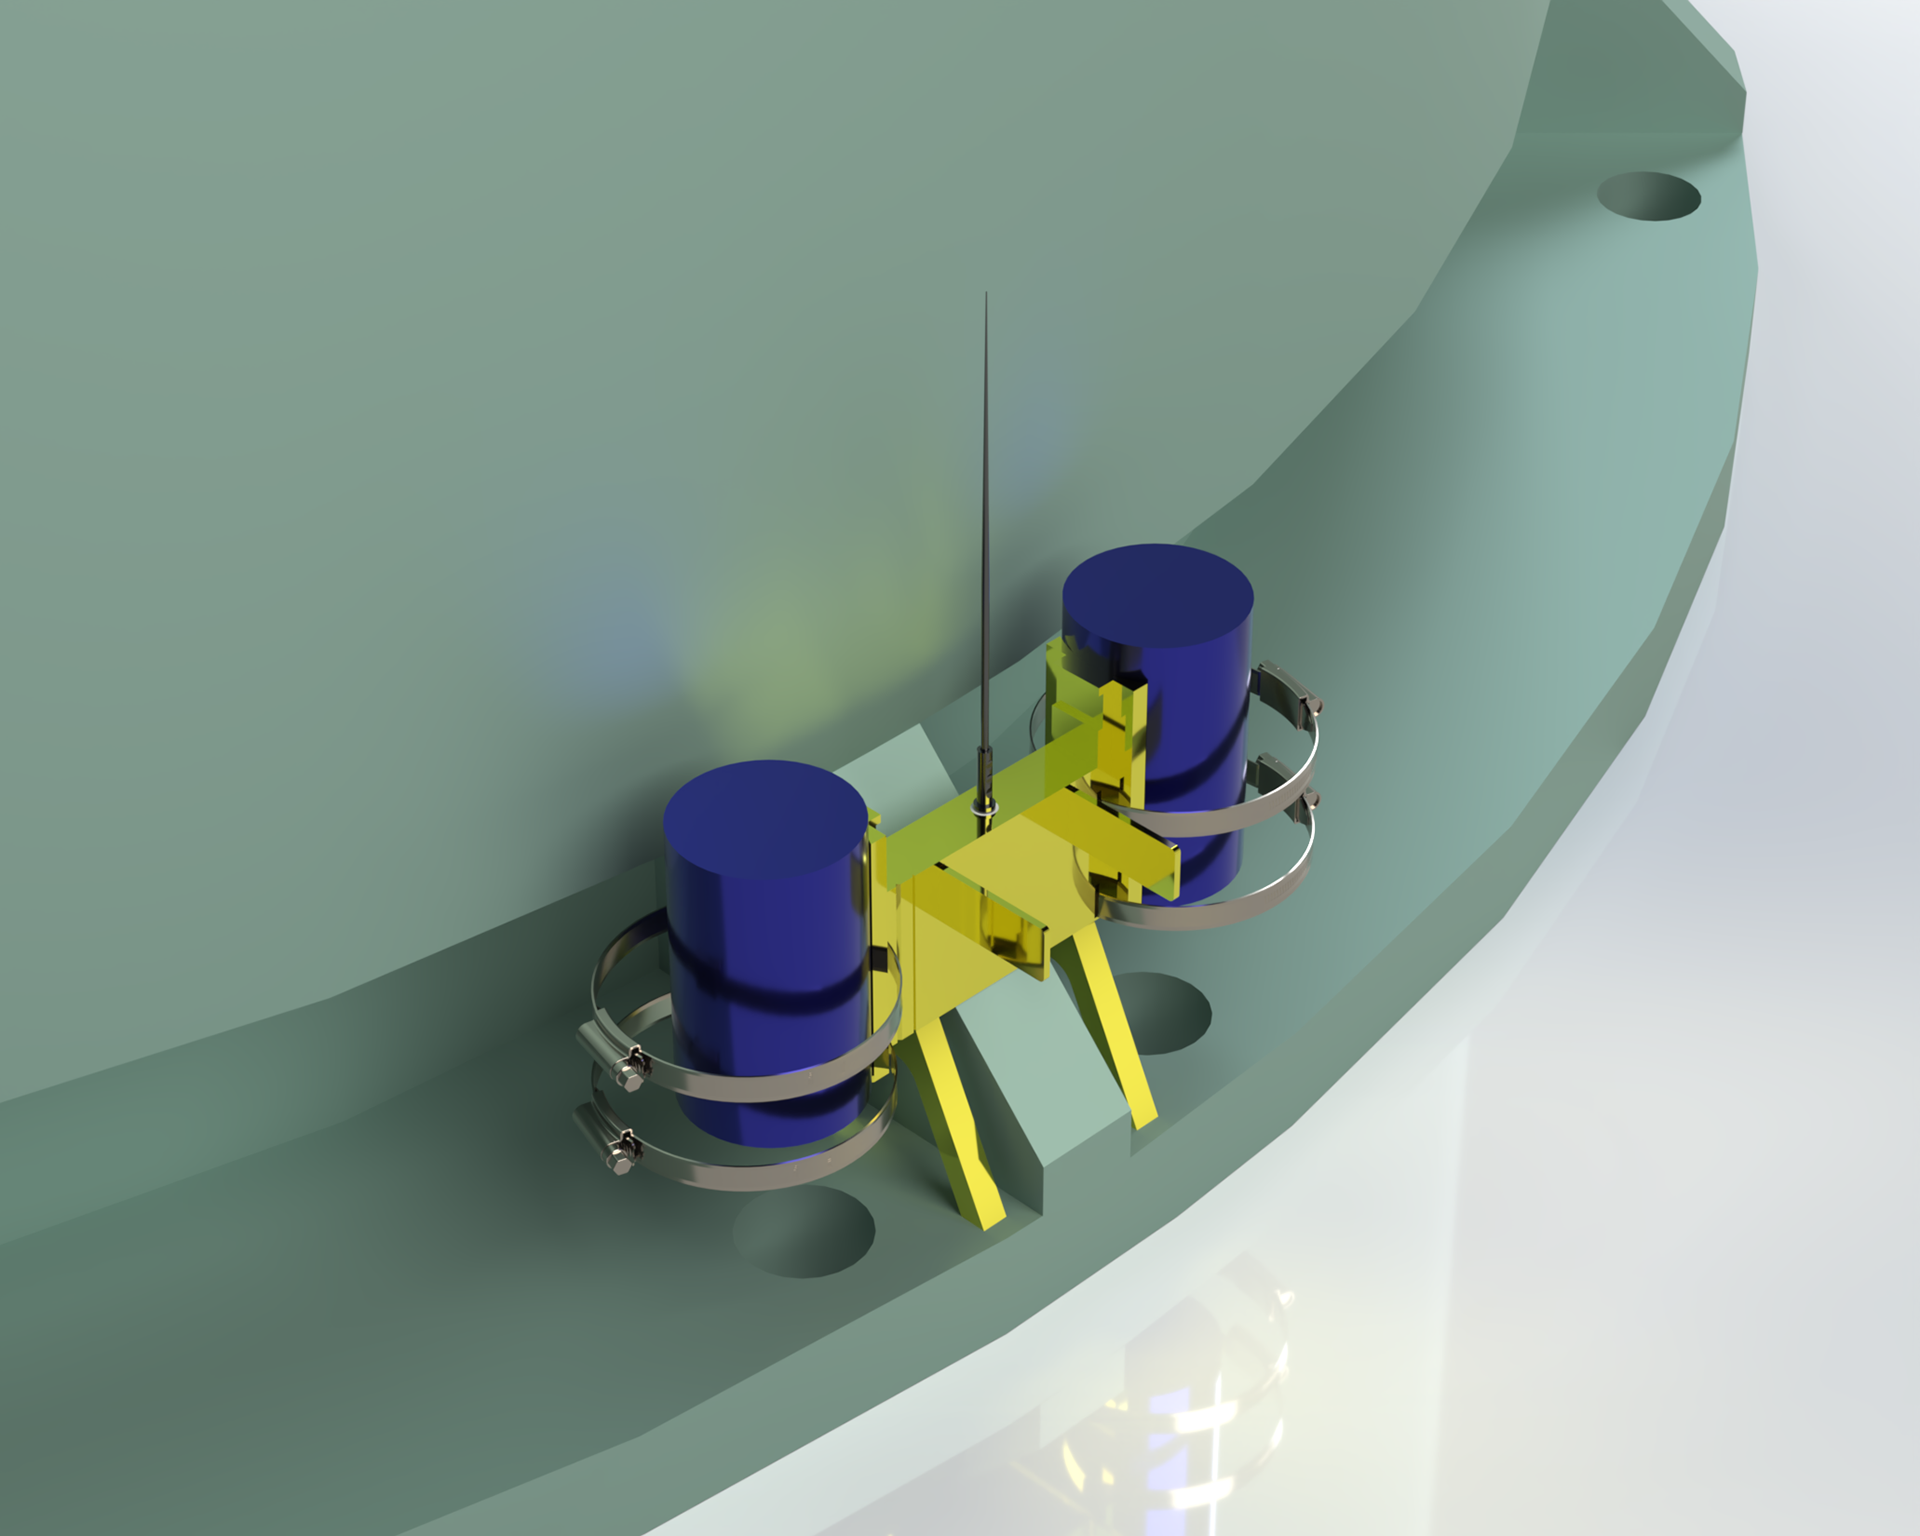
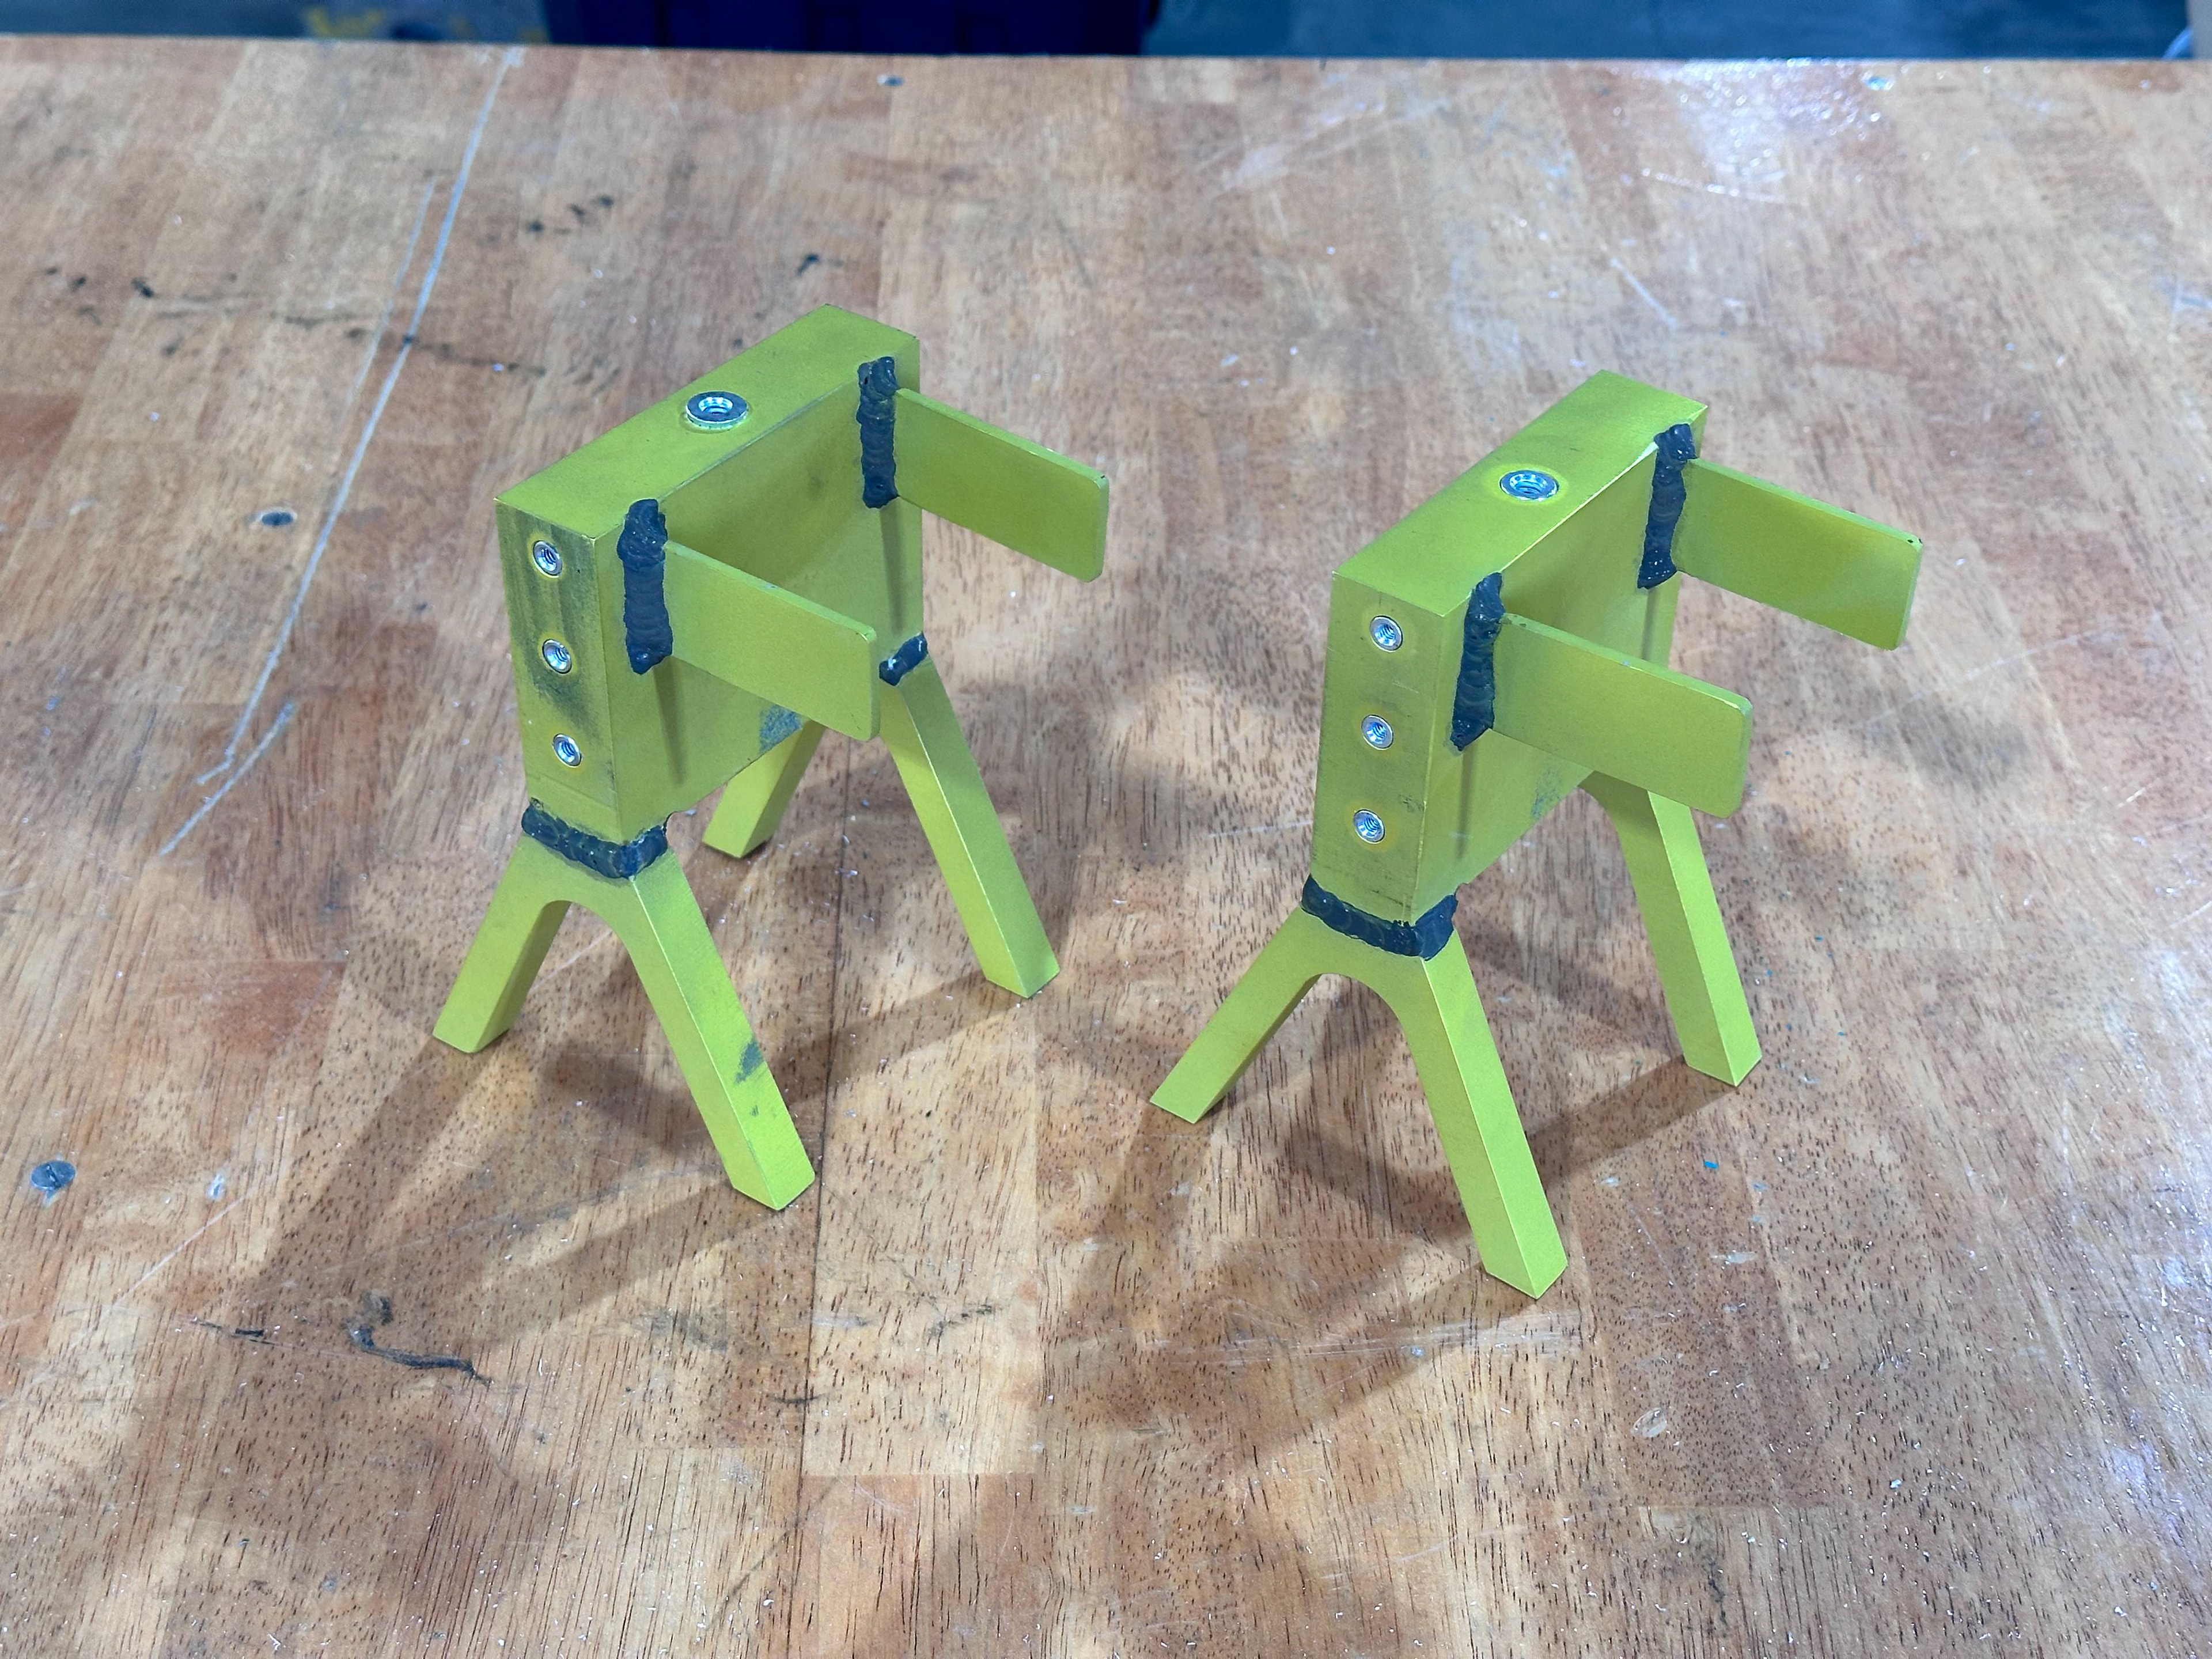
Below are two design options our team developed. The model on the left offered a smaller, lightweight form and greater adaptability due to the use of hose clamps. In contrast, the model on the right featured a more robust four-bolt design that provided additional redundancy but also added weight. After reviewing both designs with our sponsor and weighing the trade-offs, we ultimately selected the left-side model. While it offered less built-in redundancy, its simplicity, lighter weight, and adaptability made it the more suitable choice for our application.
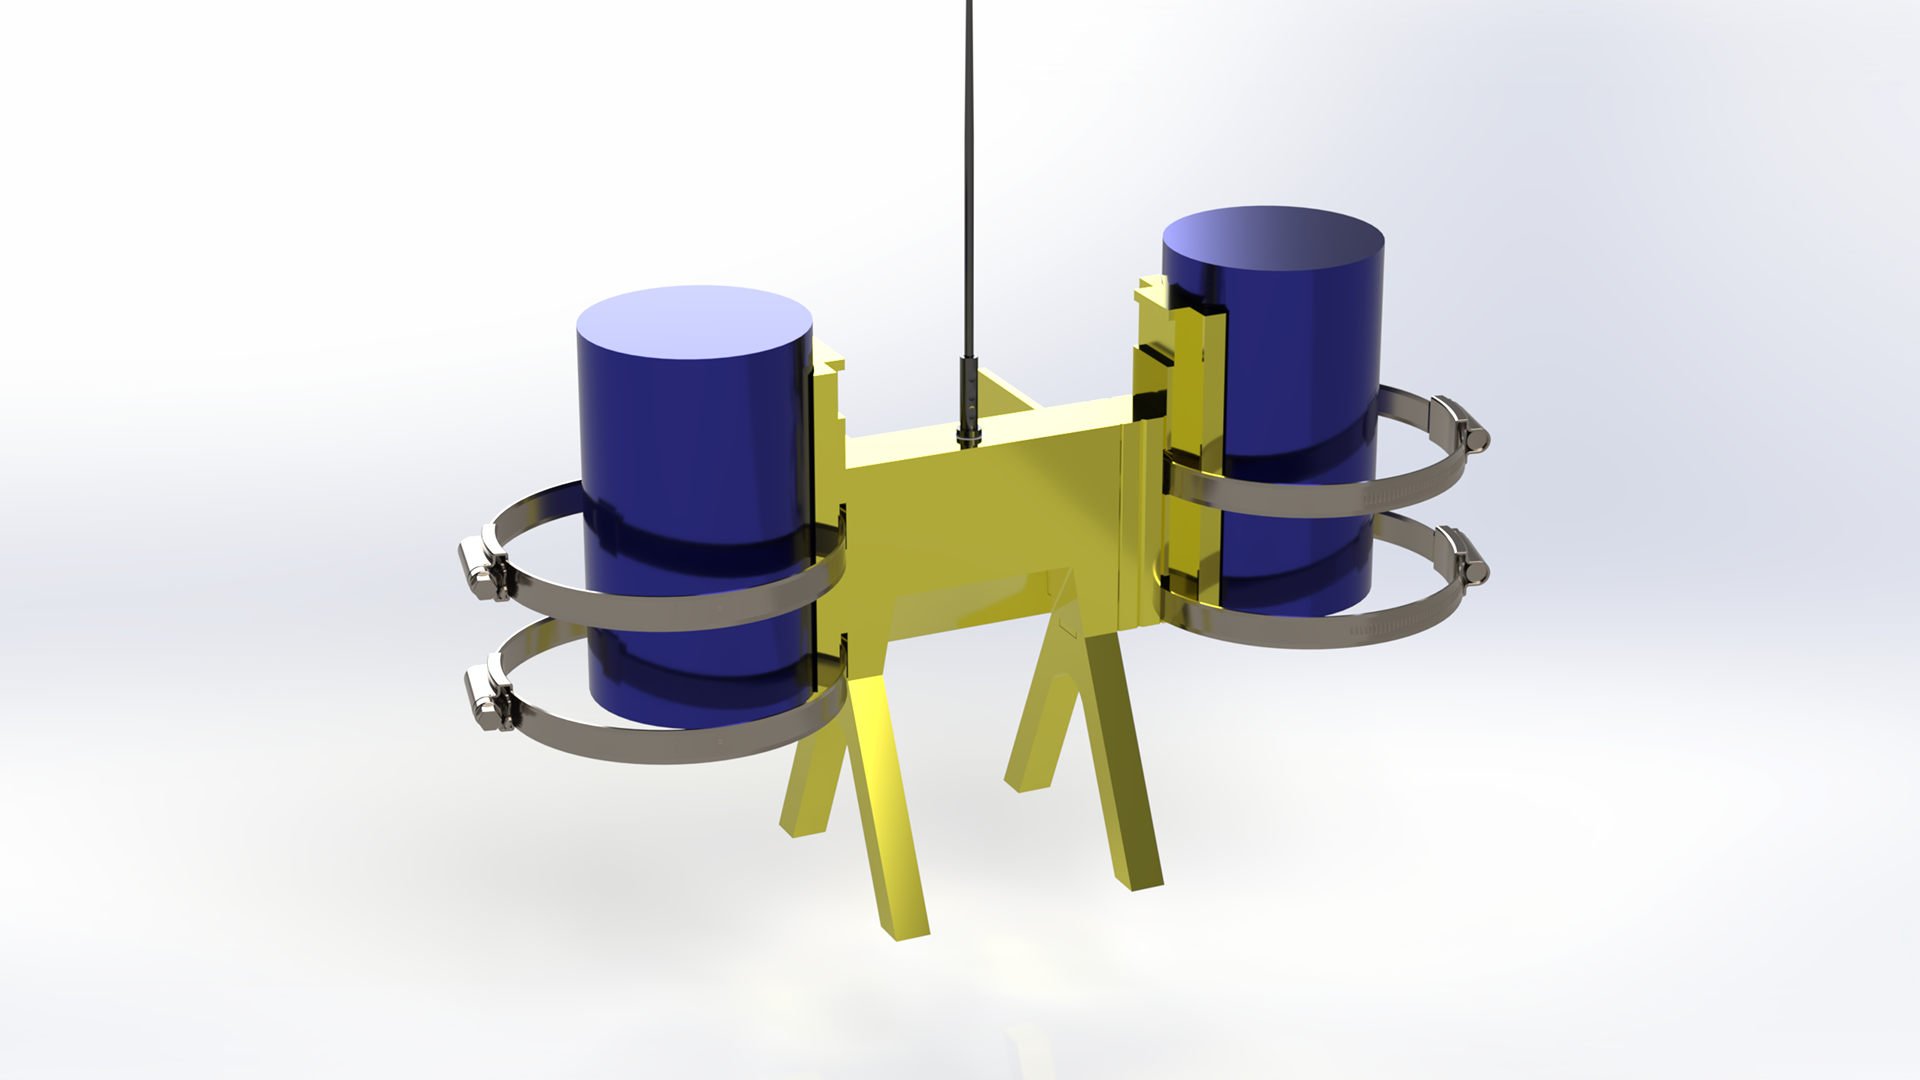
rendered Final design of chosen model
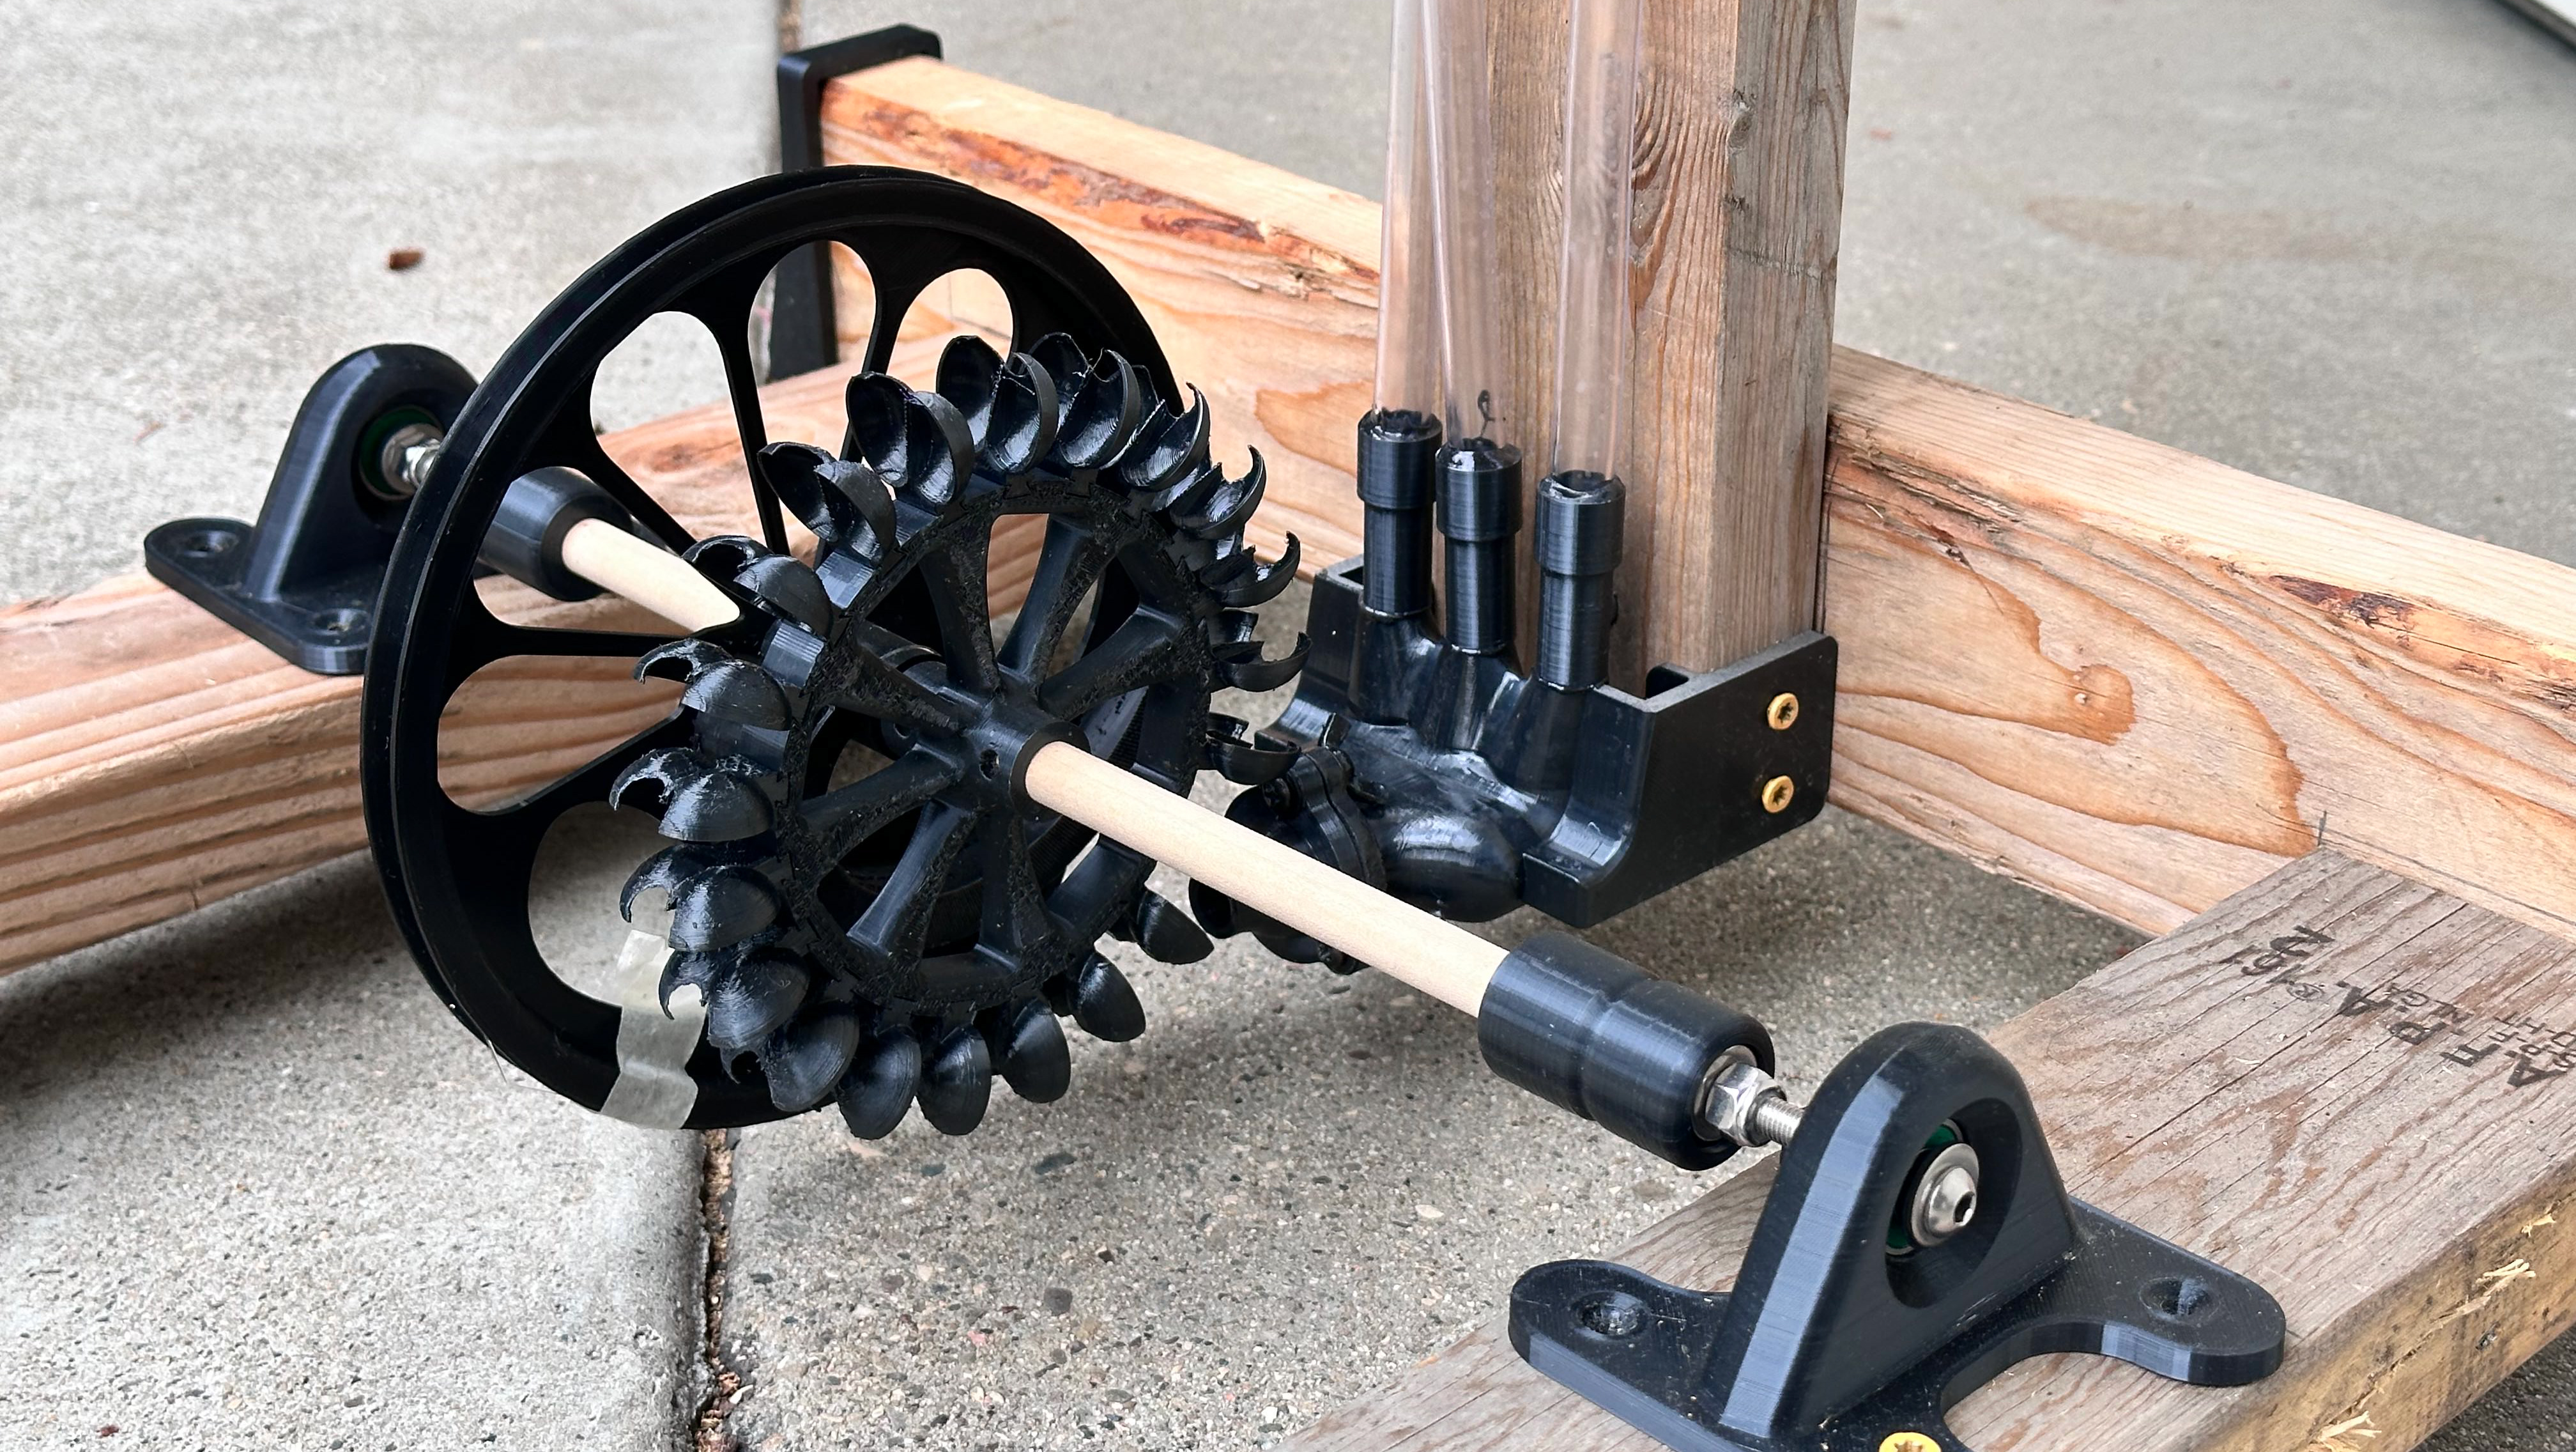
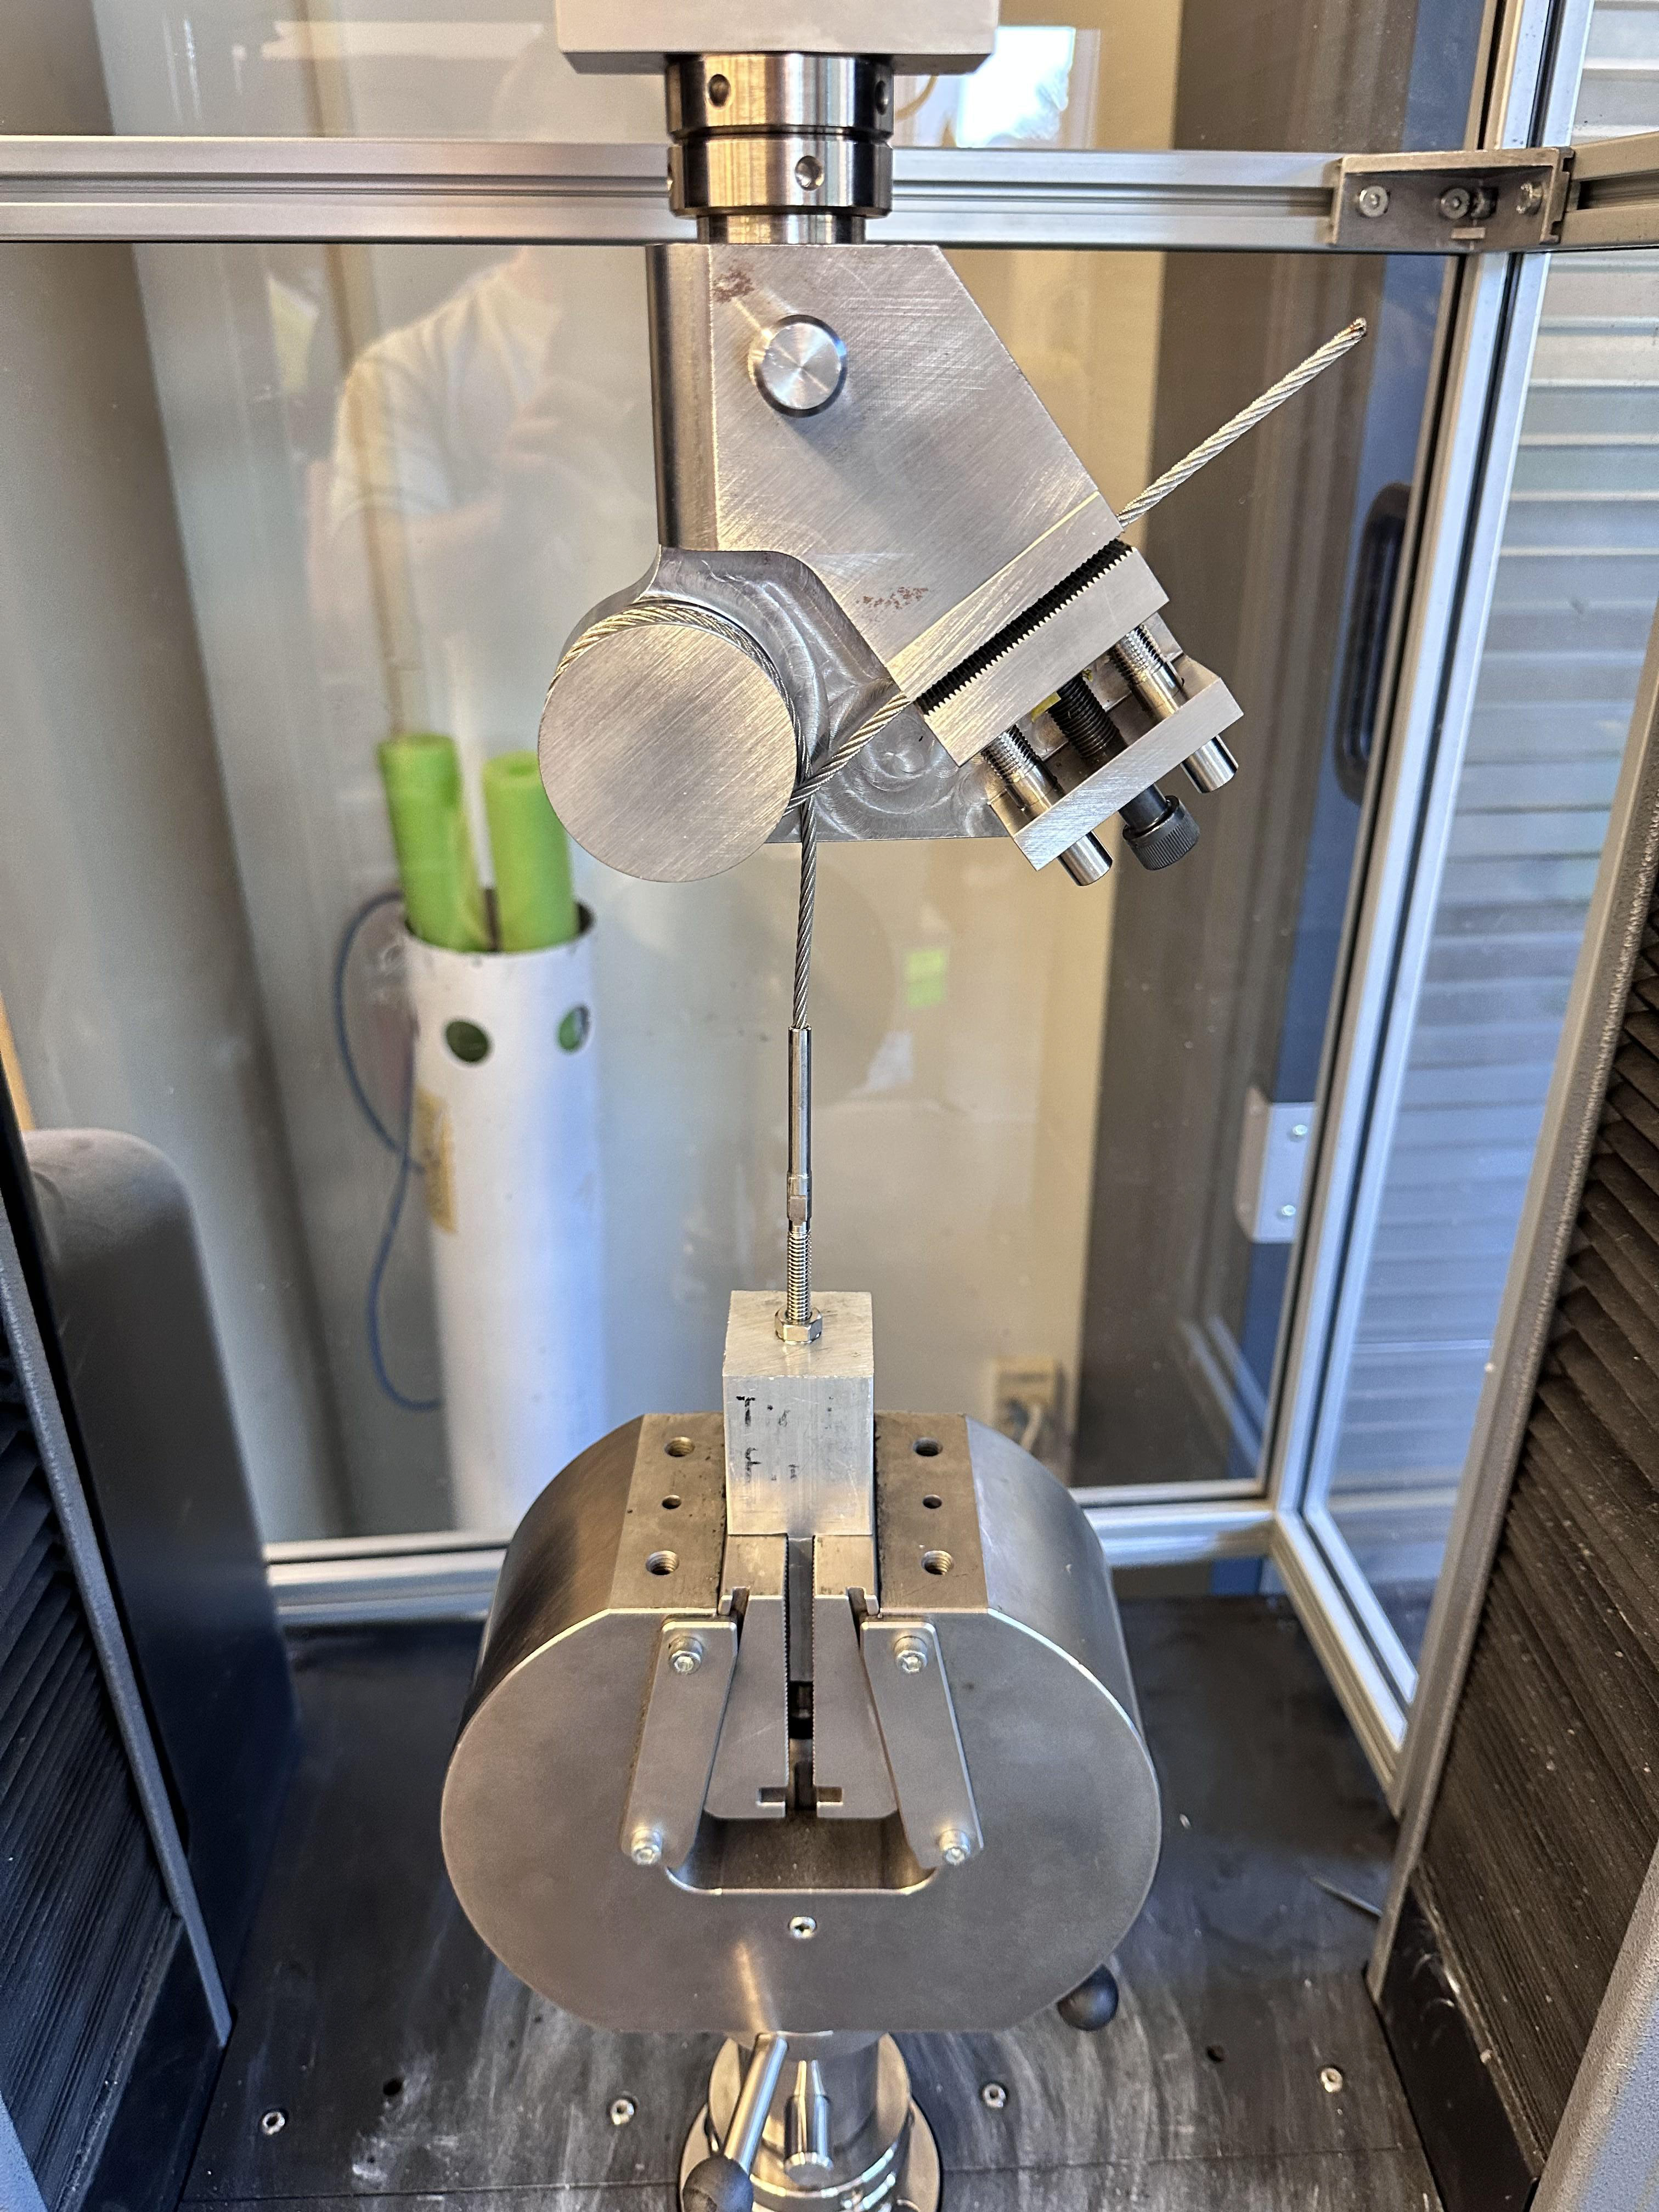
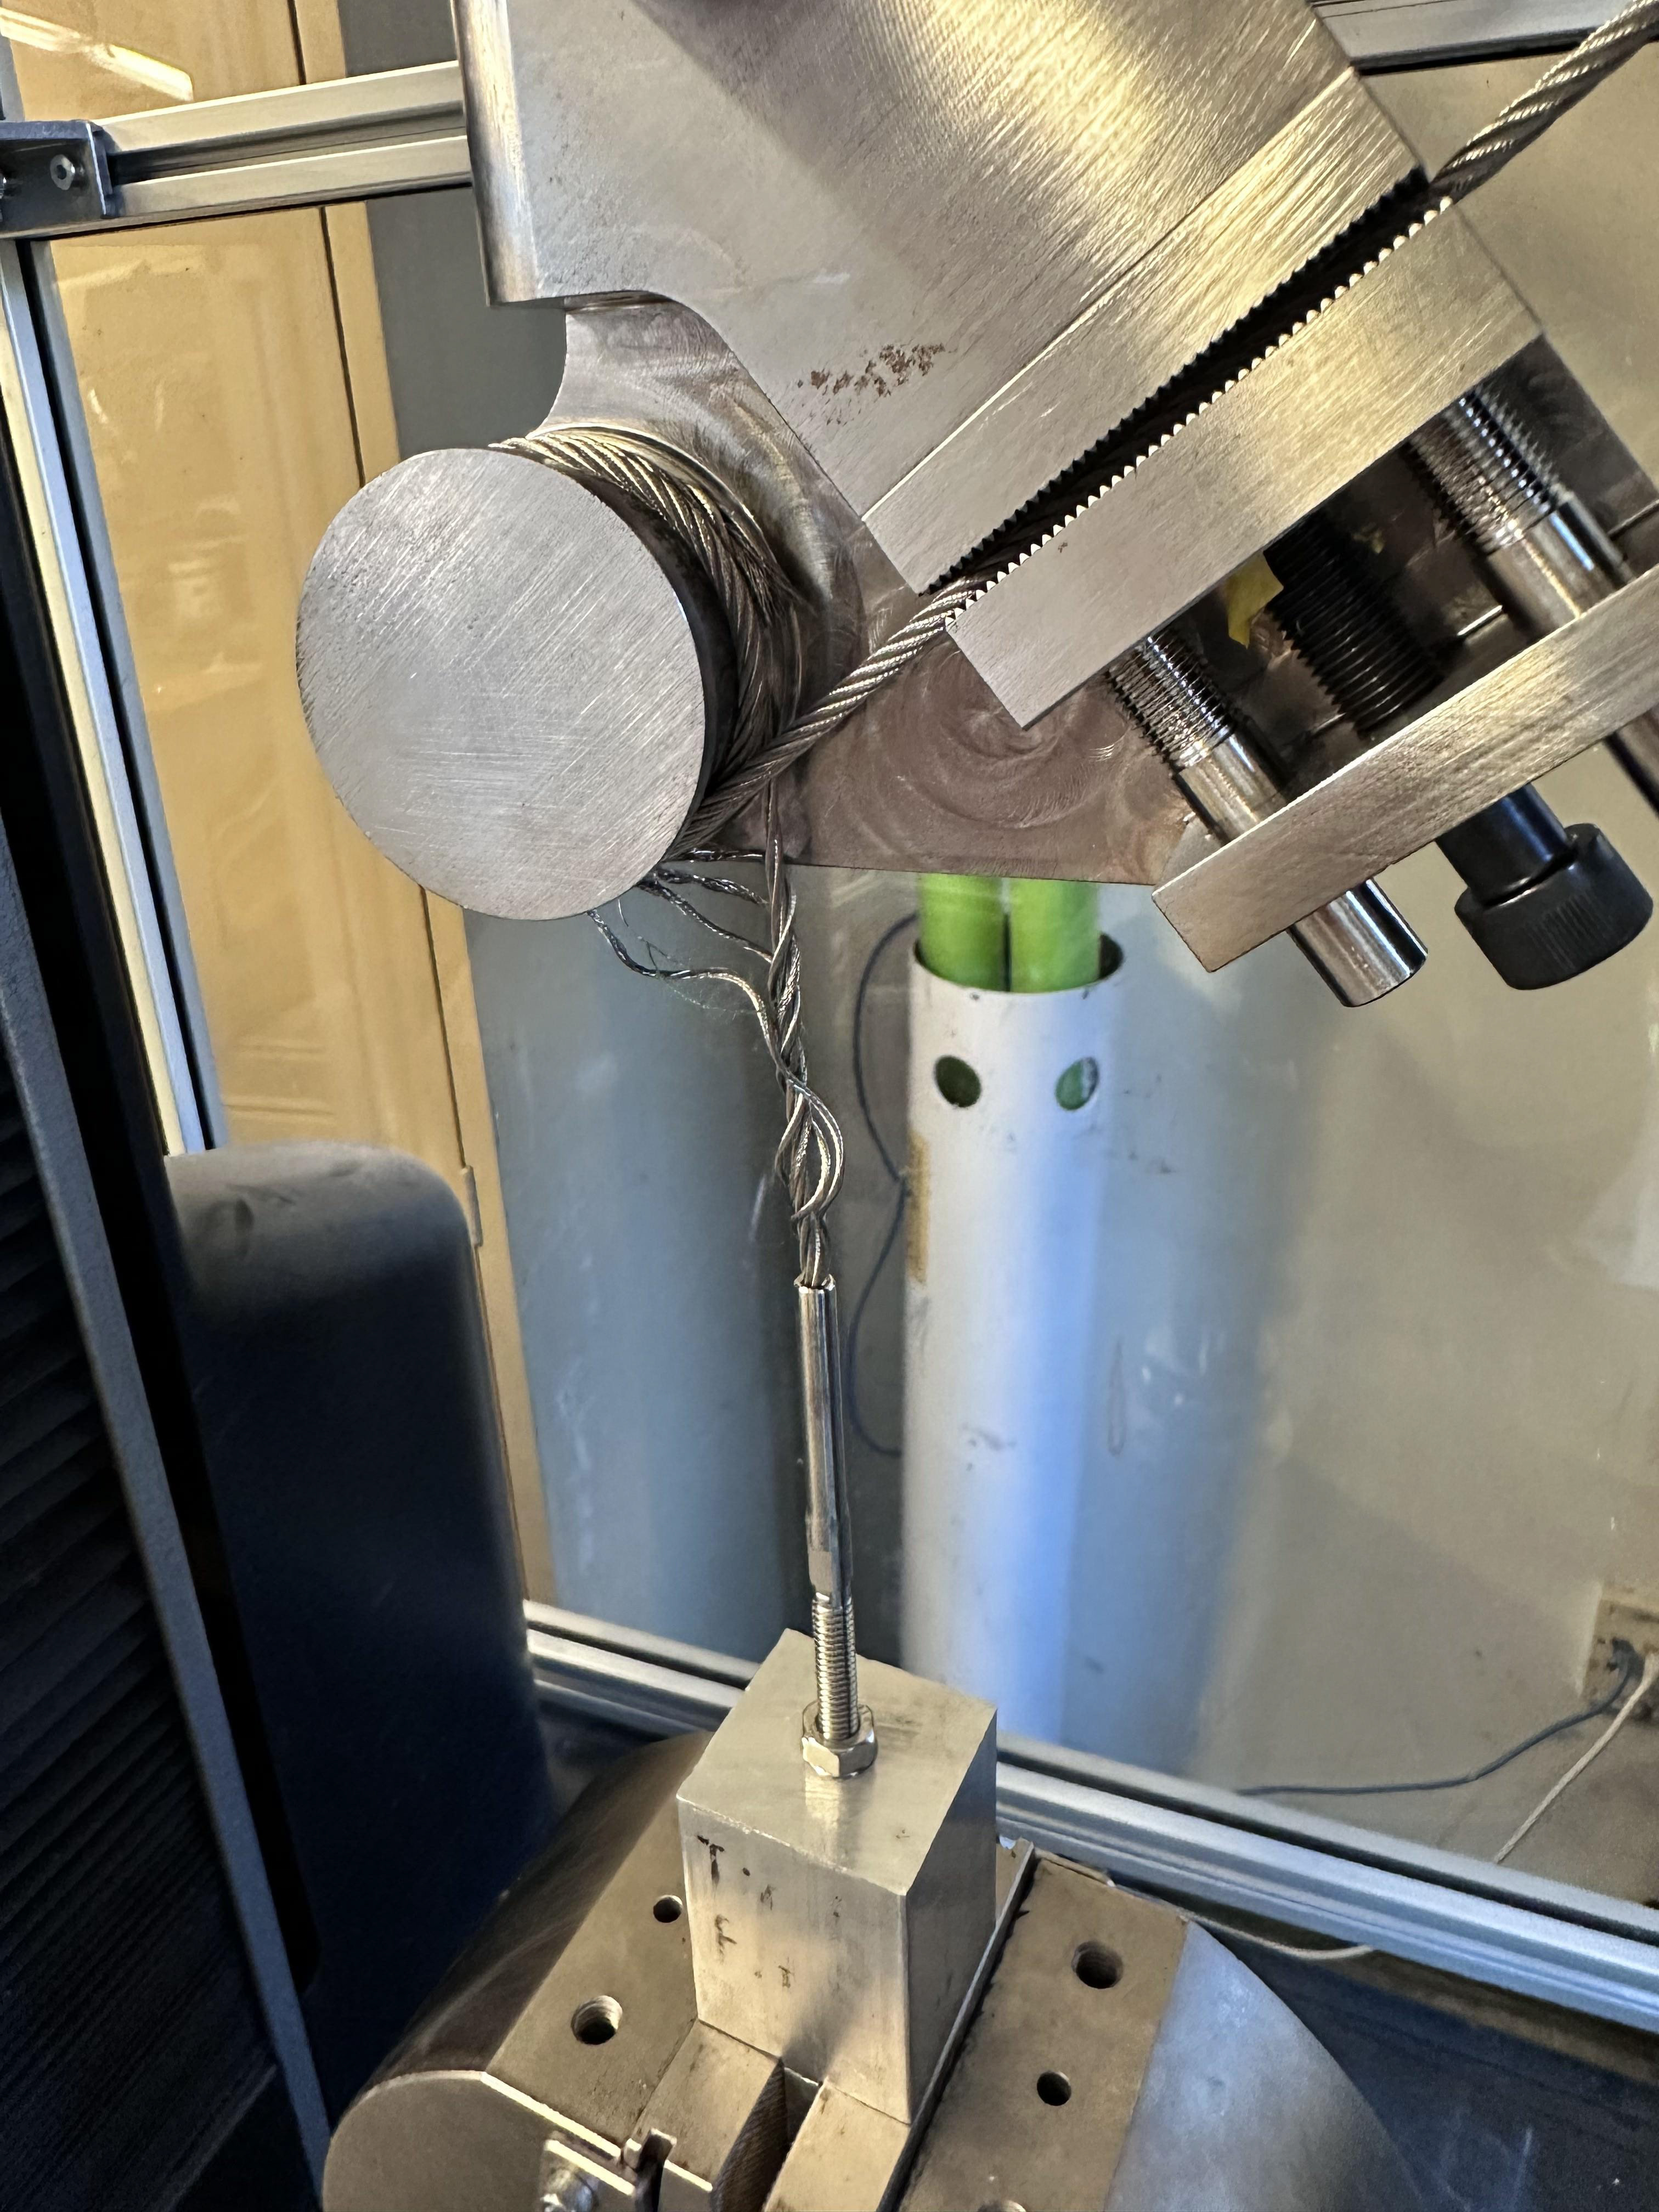
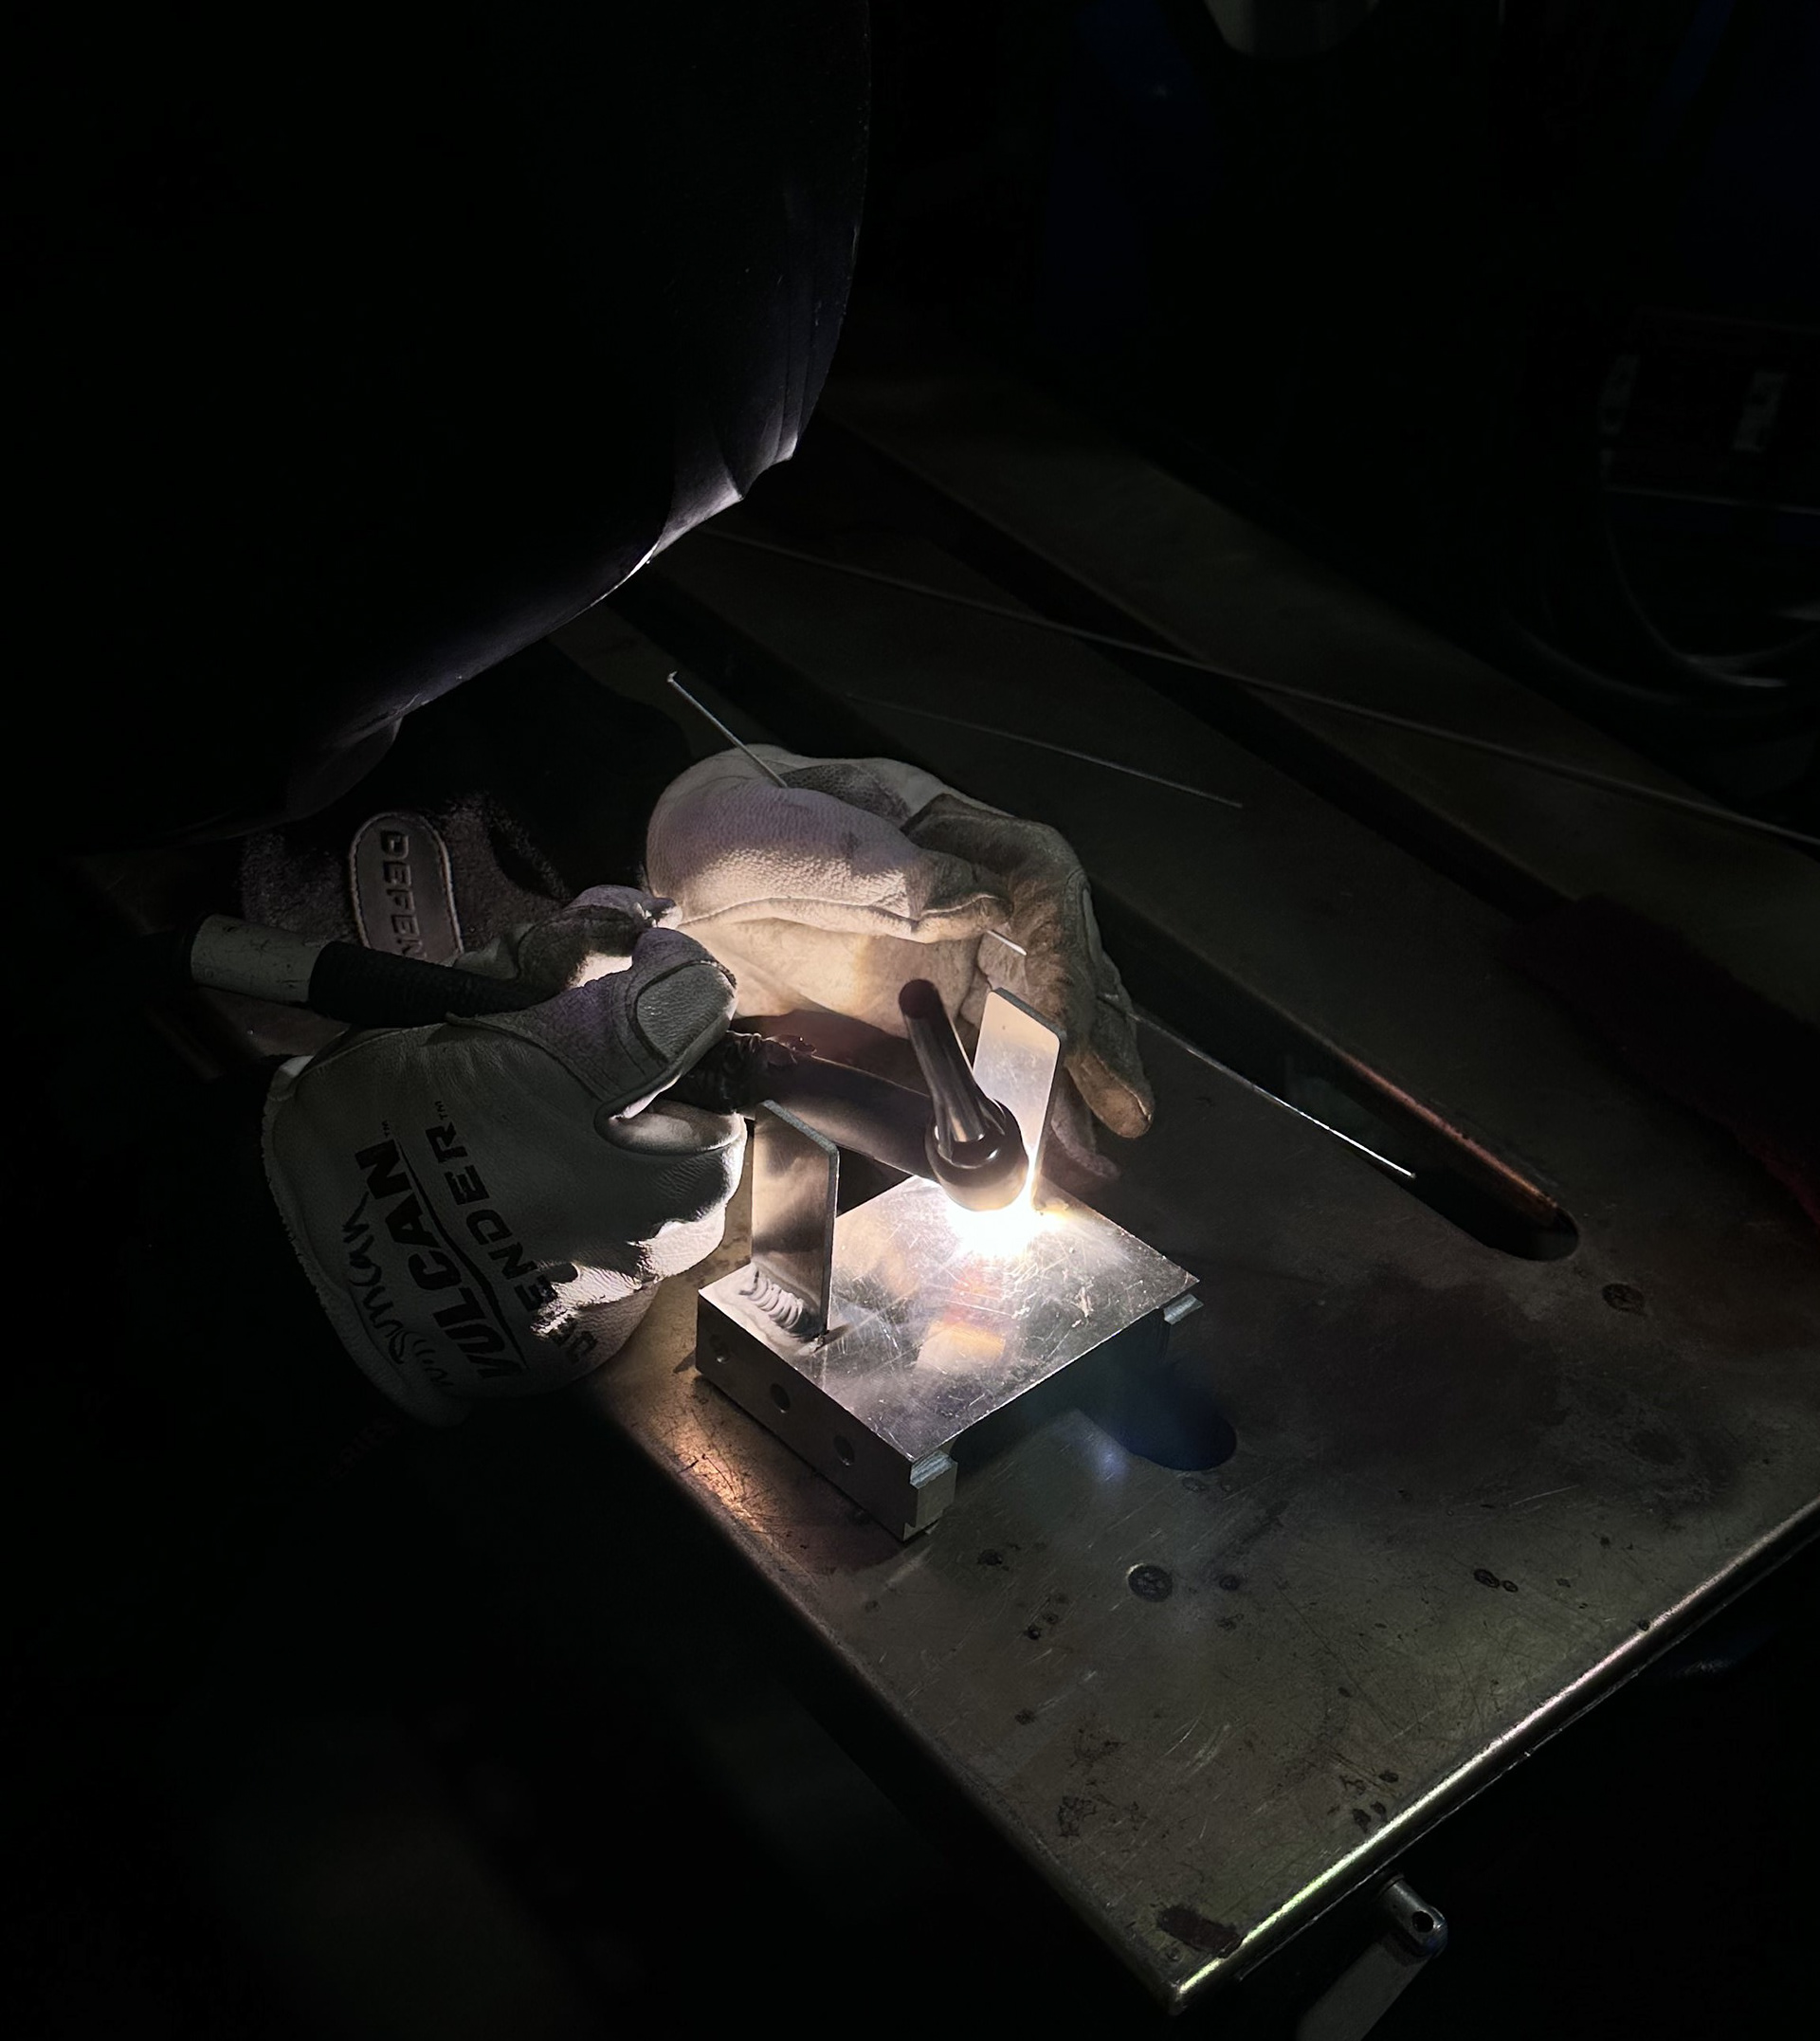
Below, we are testing our tether design using custom test jigs built with varying tolerances for the steel inserts to determine which component would fail first. One of the key issues our sponsor identified with the existing design was that misalignment often caused the tether to snap, resulting in dropped components that had to be retrieved. Taking this constraint into account, our design focused on improving strength and alignment tolerance. Through testing, we demonstrated that our updated design could withstand up to 1,700 lbf, successfully meeting the performance goal.
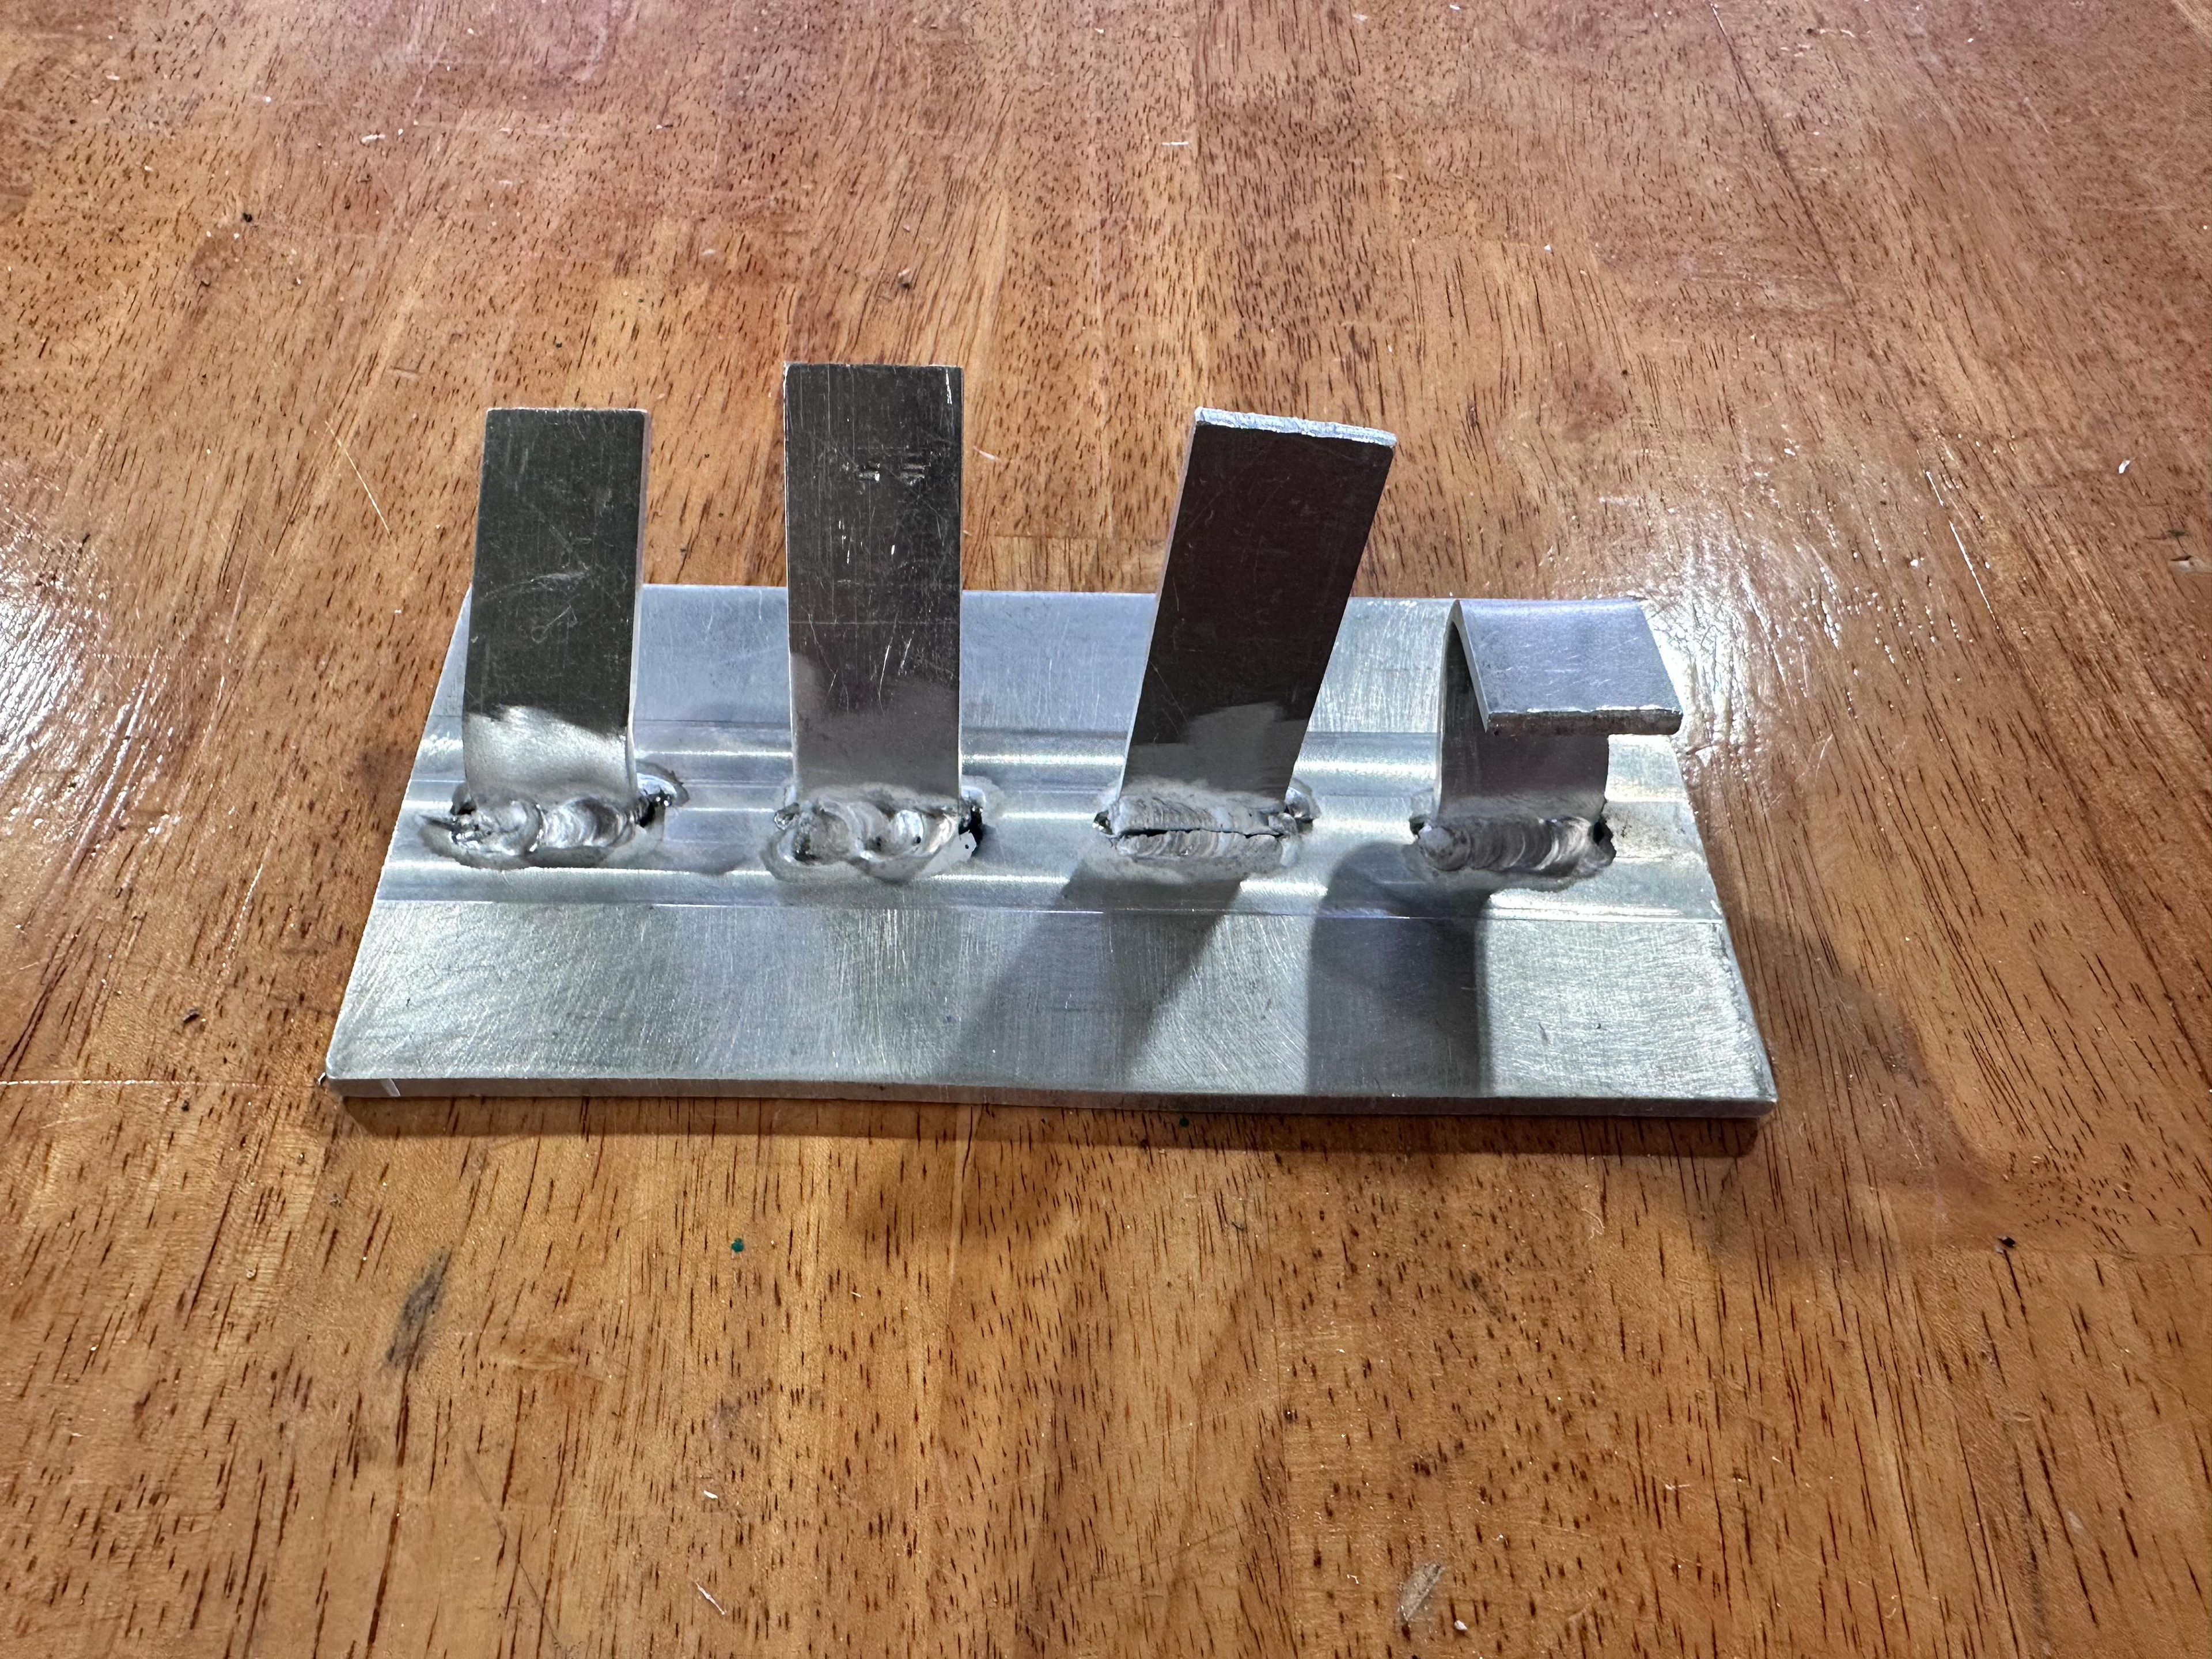
The next image shows a series of tests we conducted on our tabs to identify potential failure points in the design. Using a custom test jig, we performed four distinct evaluations. The tab on the far left underwent impact testing, the next one was subjected to repeated bending to simulate fatigue, the third was loaded with a force perpendicular to its flat face, and the last was compressed vertically. All tests passed without visible damage except for the third tab, which fractured under the perpendicular load. To address this, we modified the final design by creating a deeper slot for the tab to recess into, improving its structural support.
exploded animation of all parts to our design
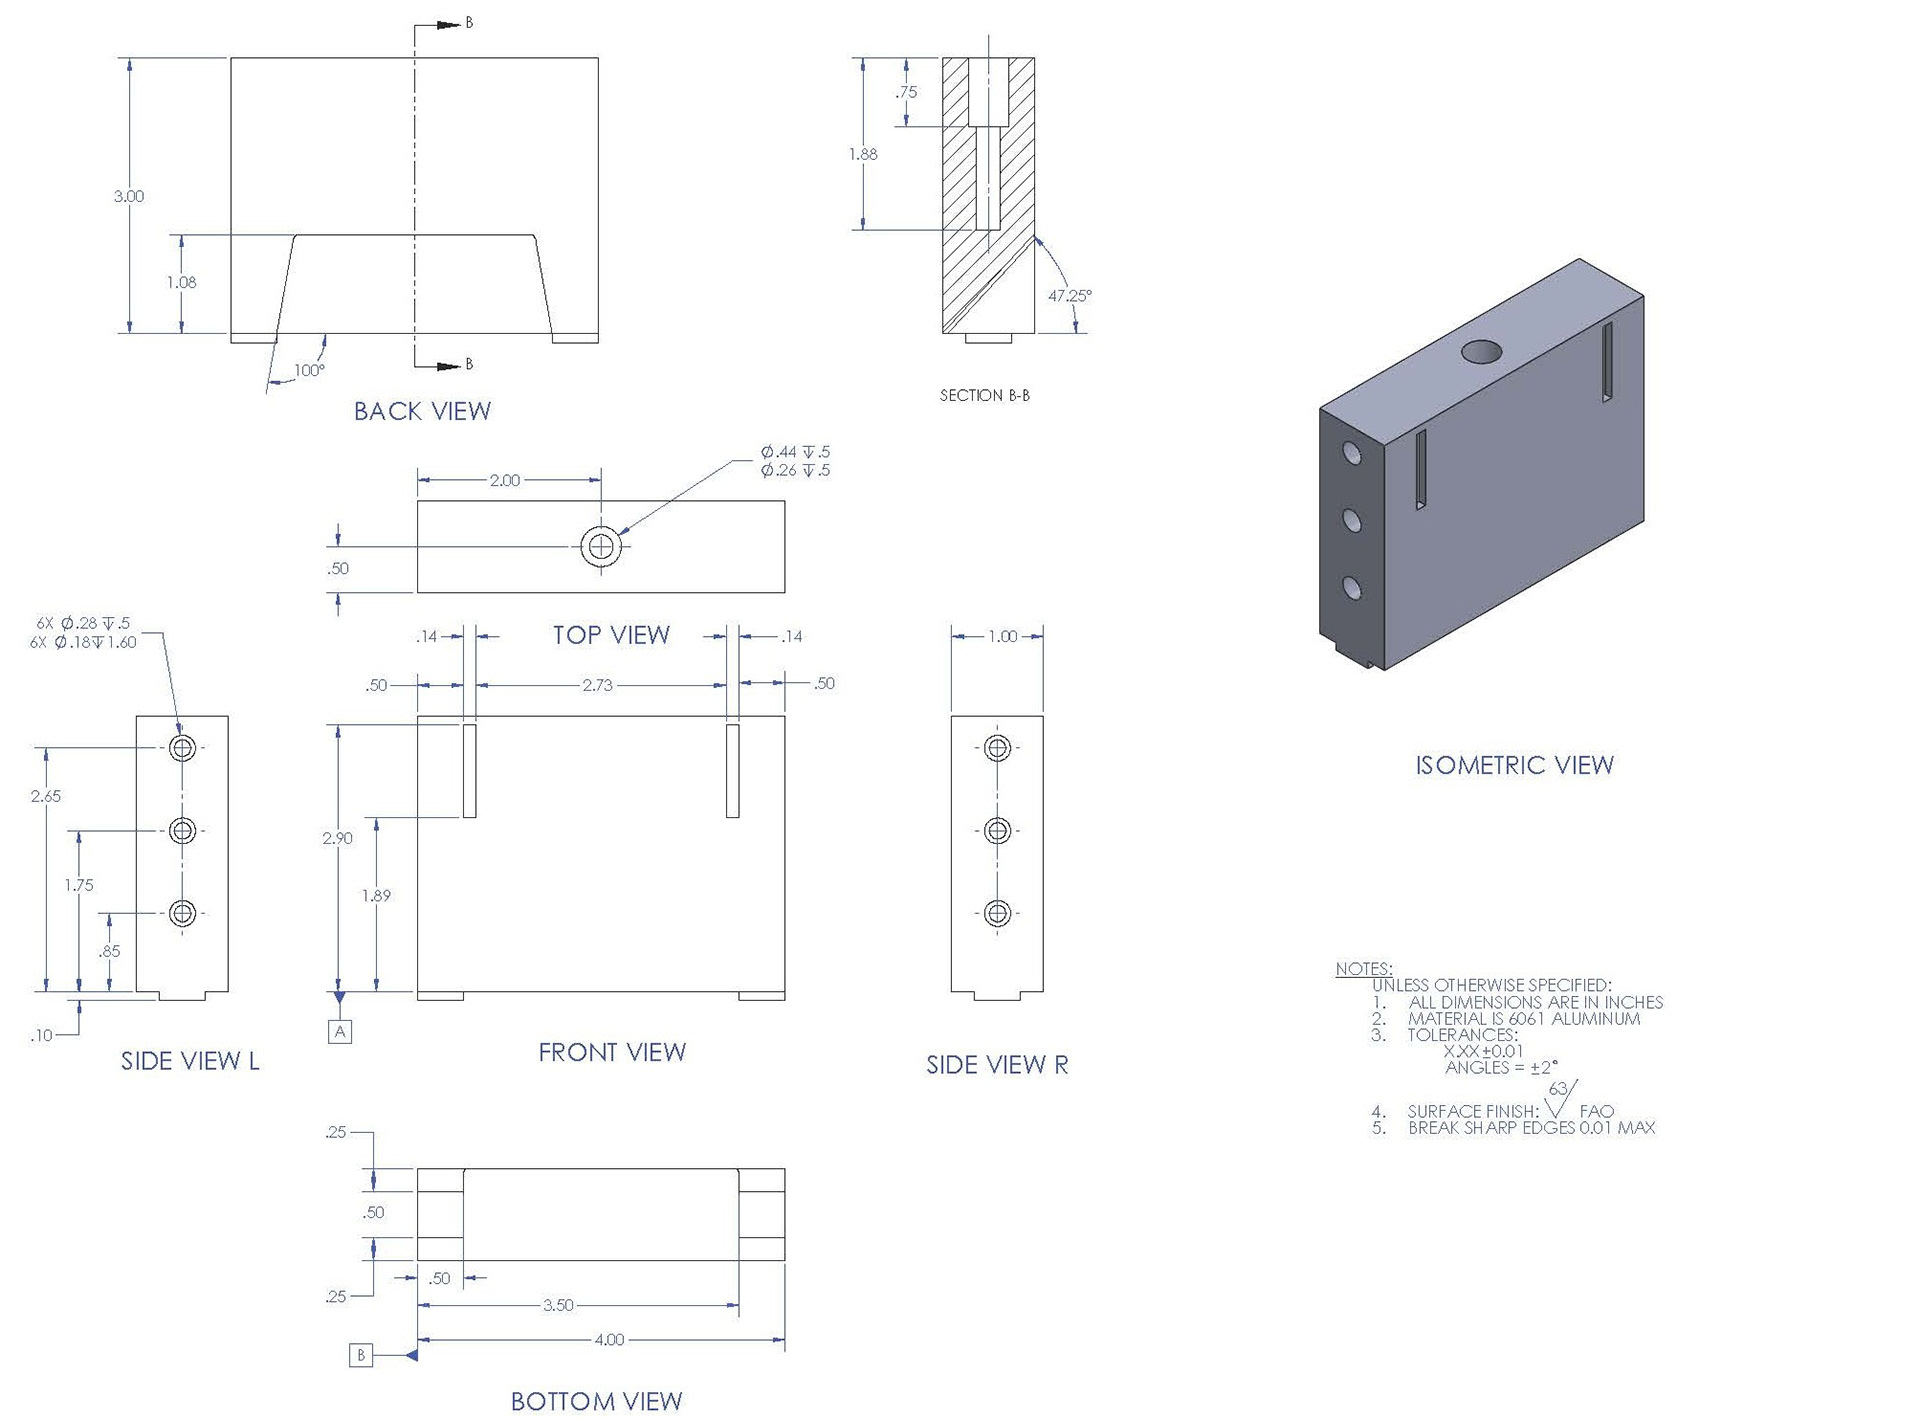
gd&t drawing of the saddle component of the design
The following outlines the steps we took to machine the final model. After verifying the geometry and fit using a 3D-printed PLA prototype, we moved on to fabricating the design in aluminum. Our initial plan was to machine the entire part from a single solid block of aluminum. However, this approach proved unfeasible due to challenges in sourcing a block of that size and the need for a 5-axis CNC machine. As a result, we shifted to a modular design strategy.
The legs and fins, being thin components, were water jetted for precision and ease. The saddle and cups were manufactured using a combination of 3-axis CNC machining and manual milling techniques. Finally, all components were assembled by welding the legs and fins to the saddle, completing our final design.
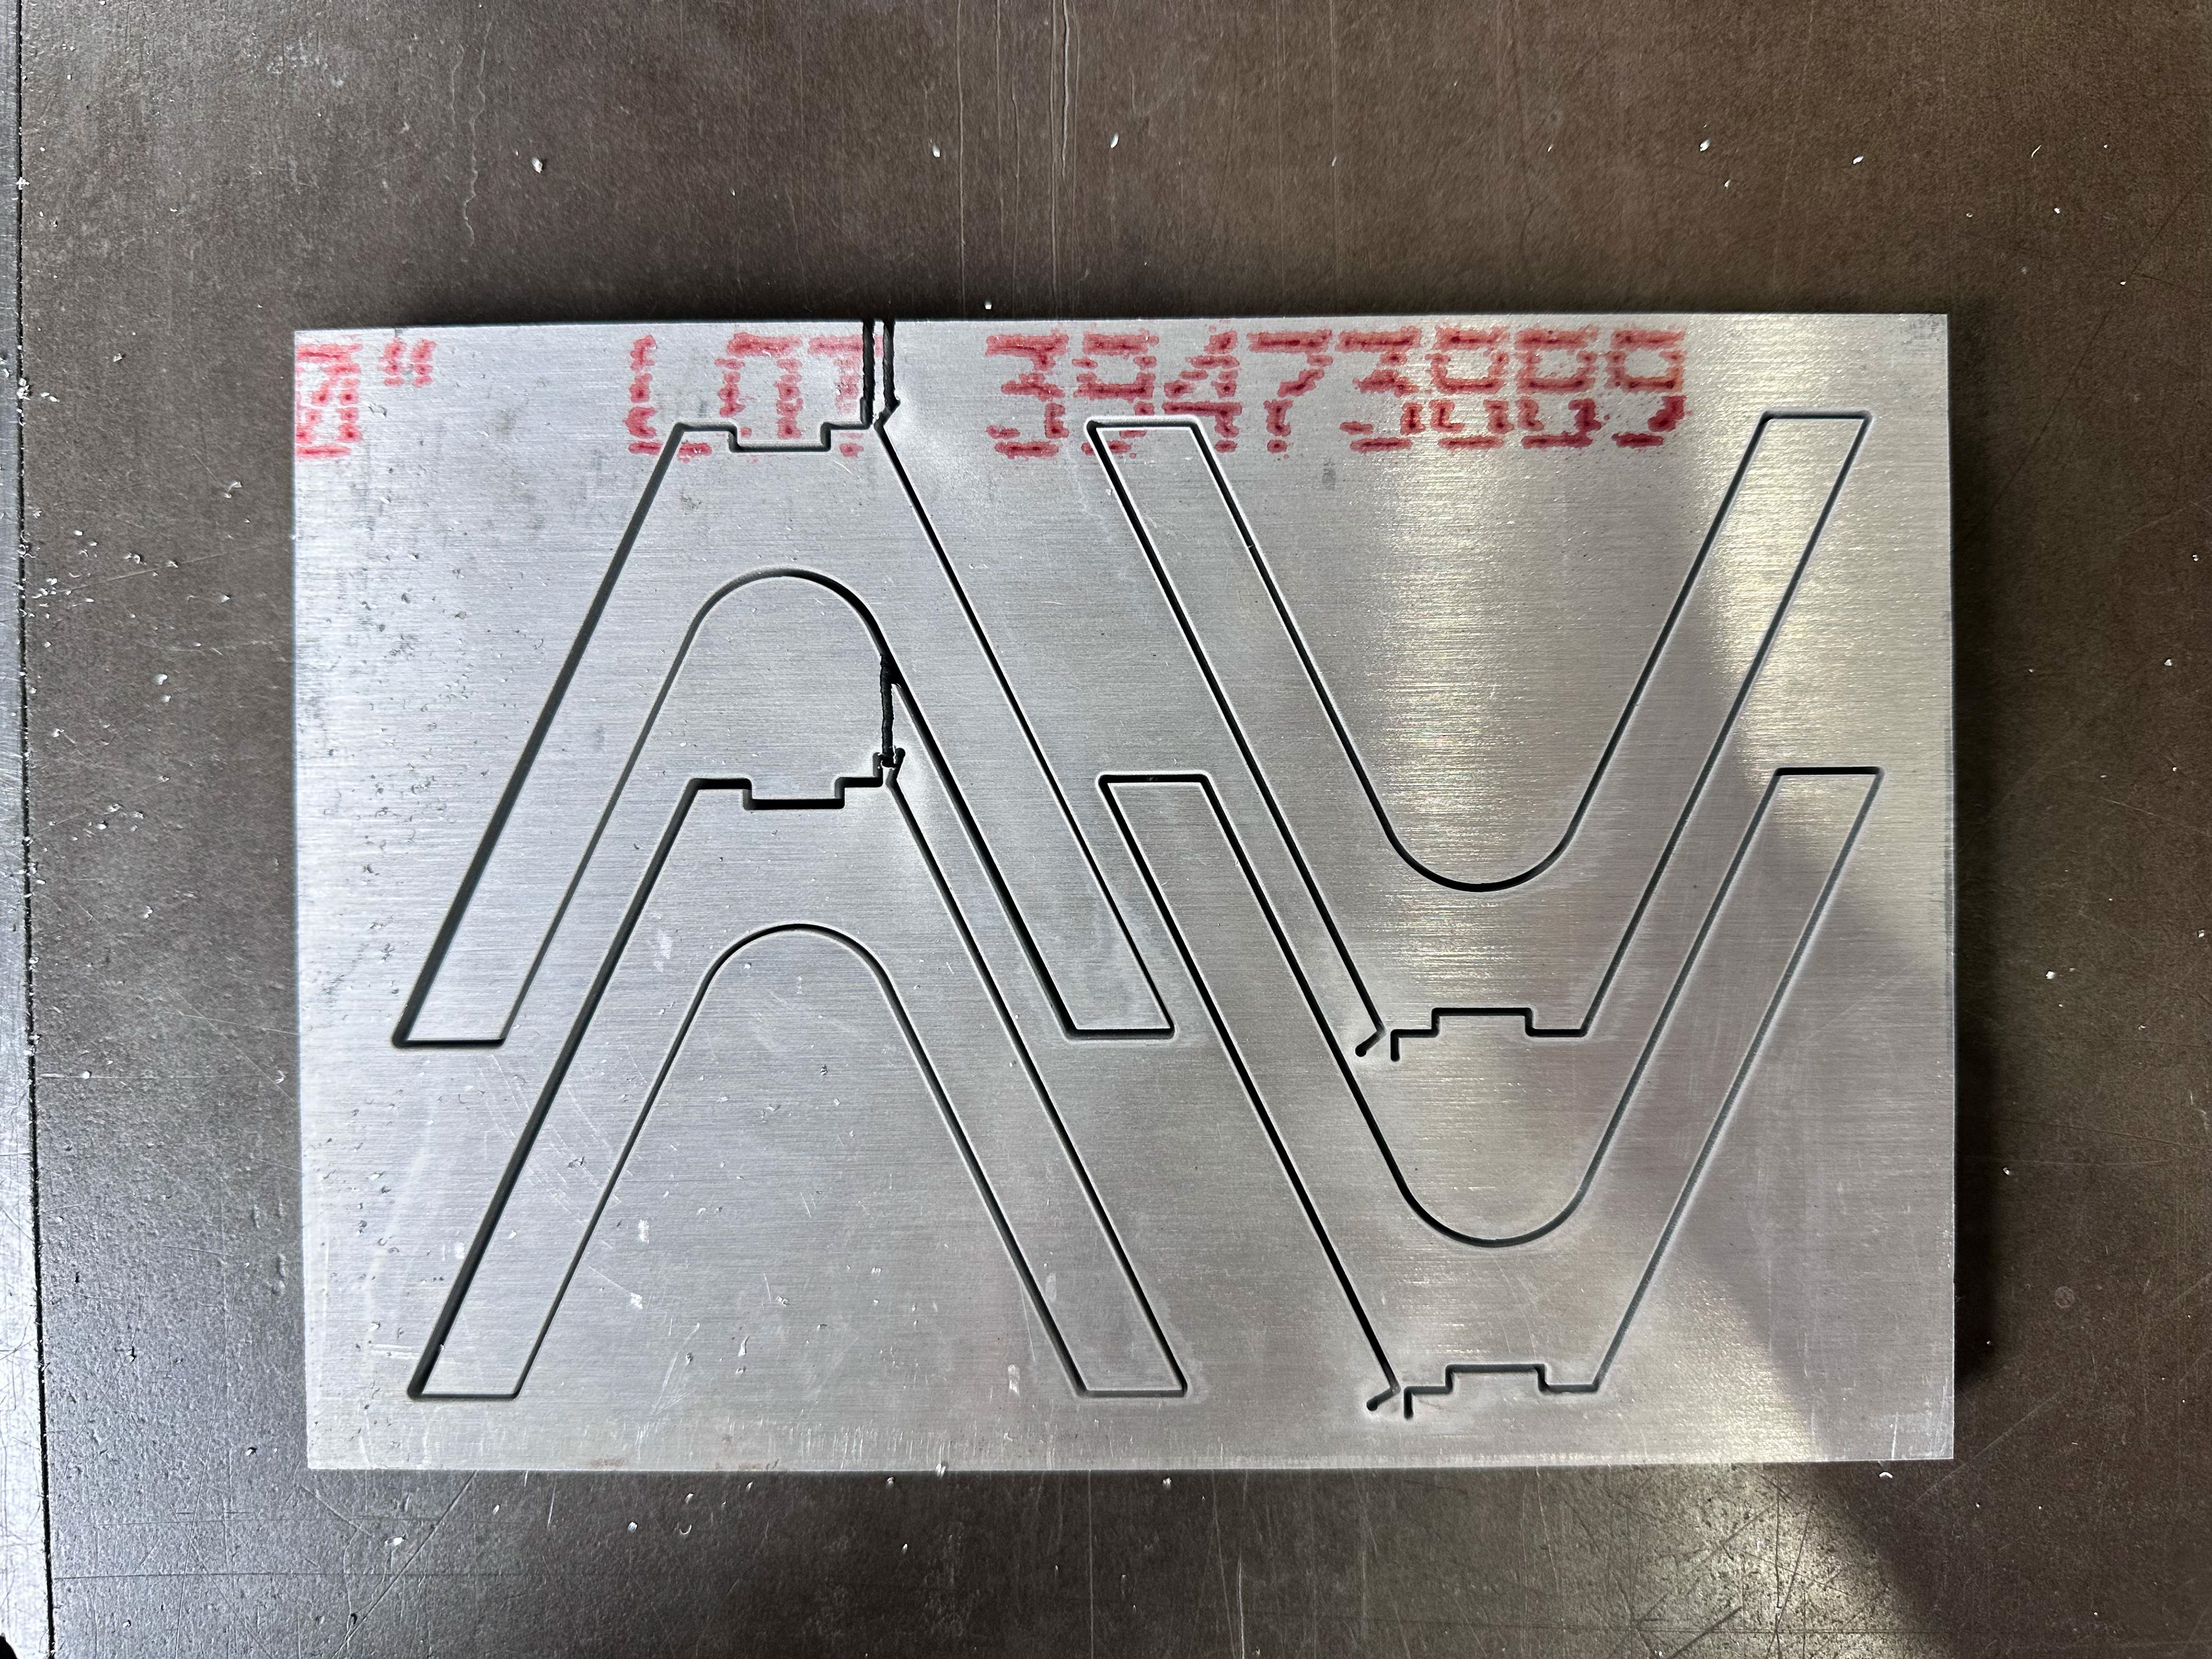
legs after being water jetted
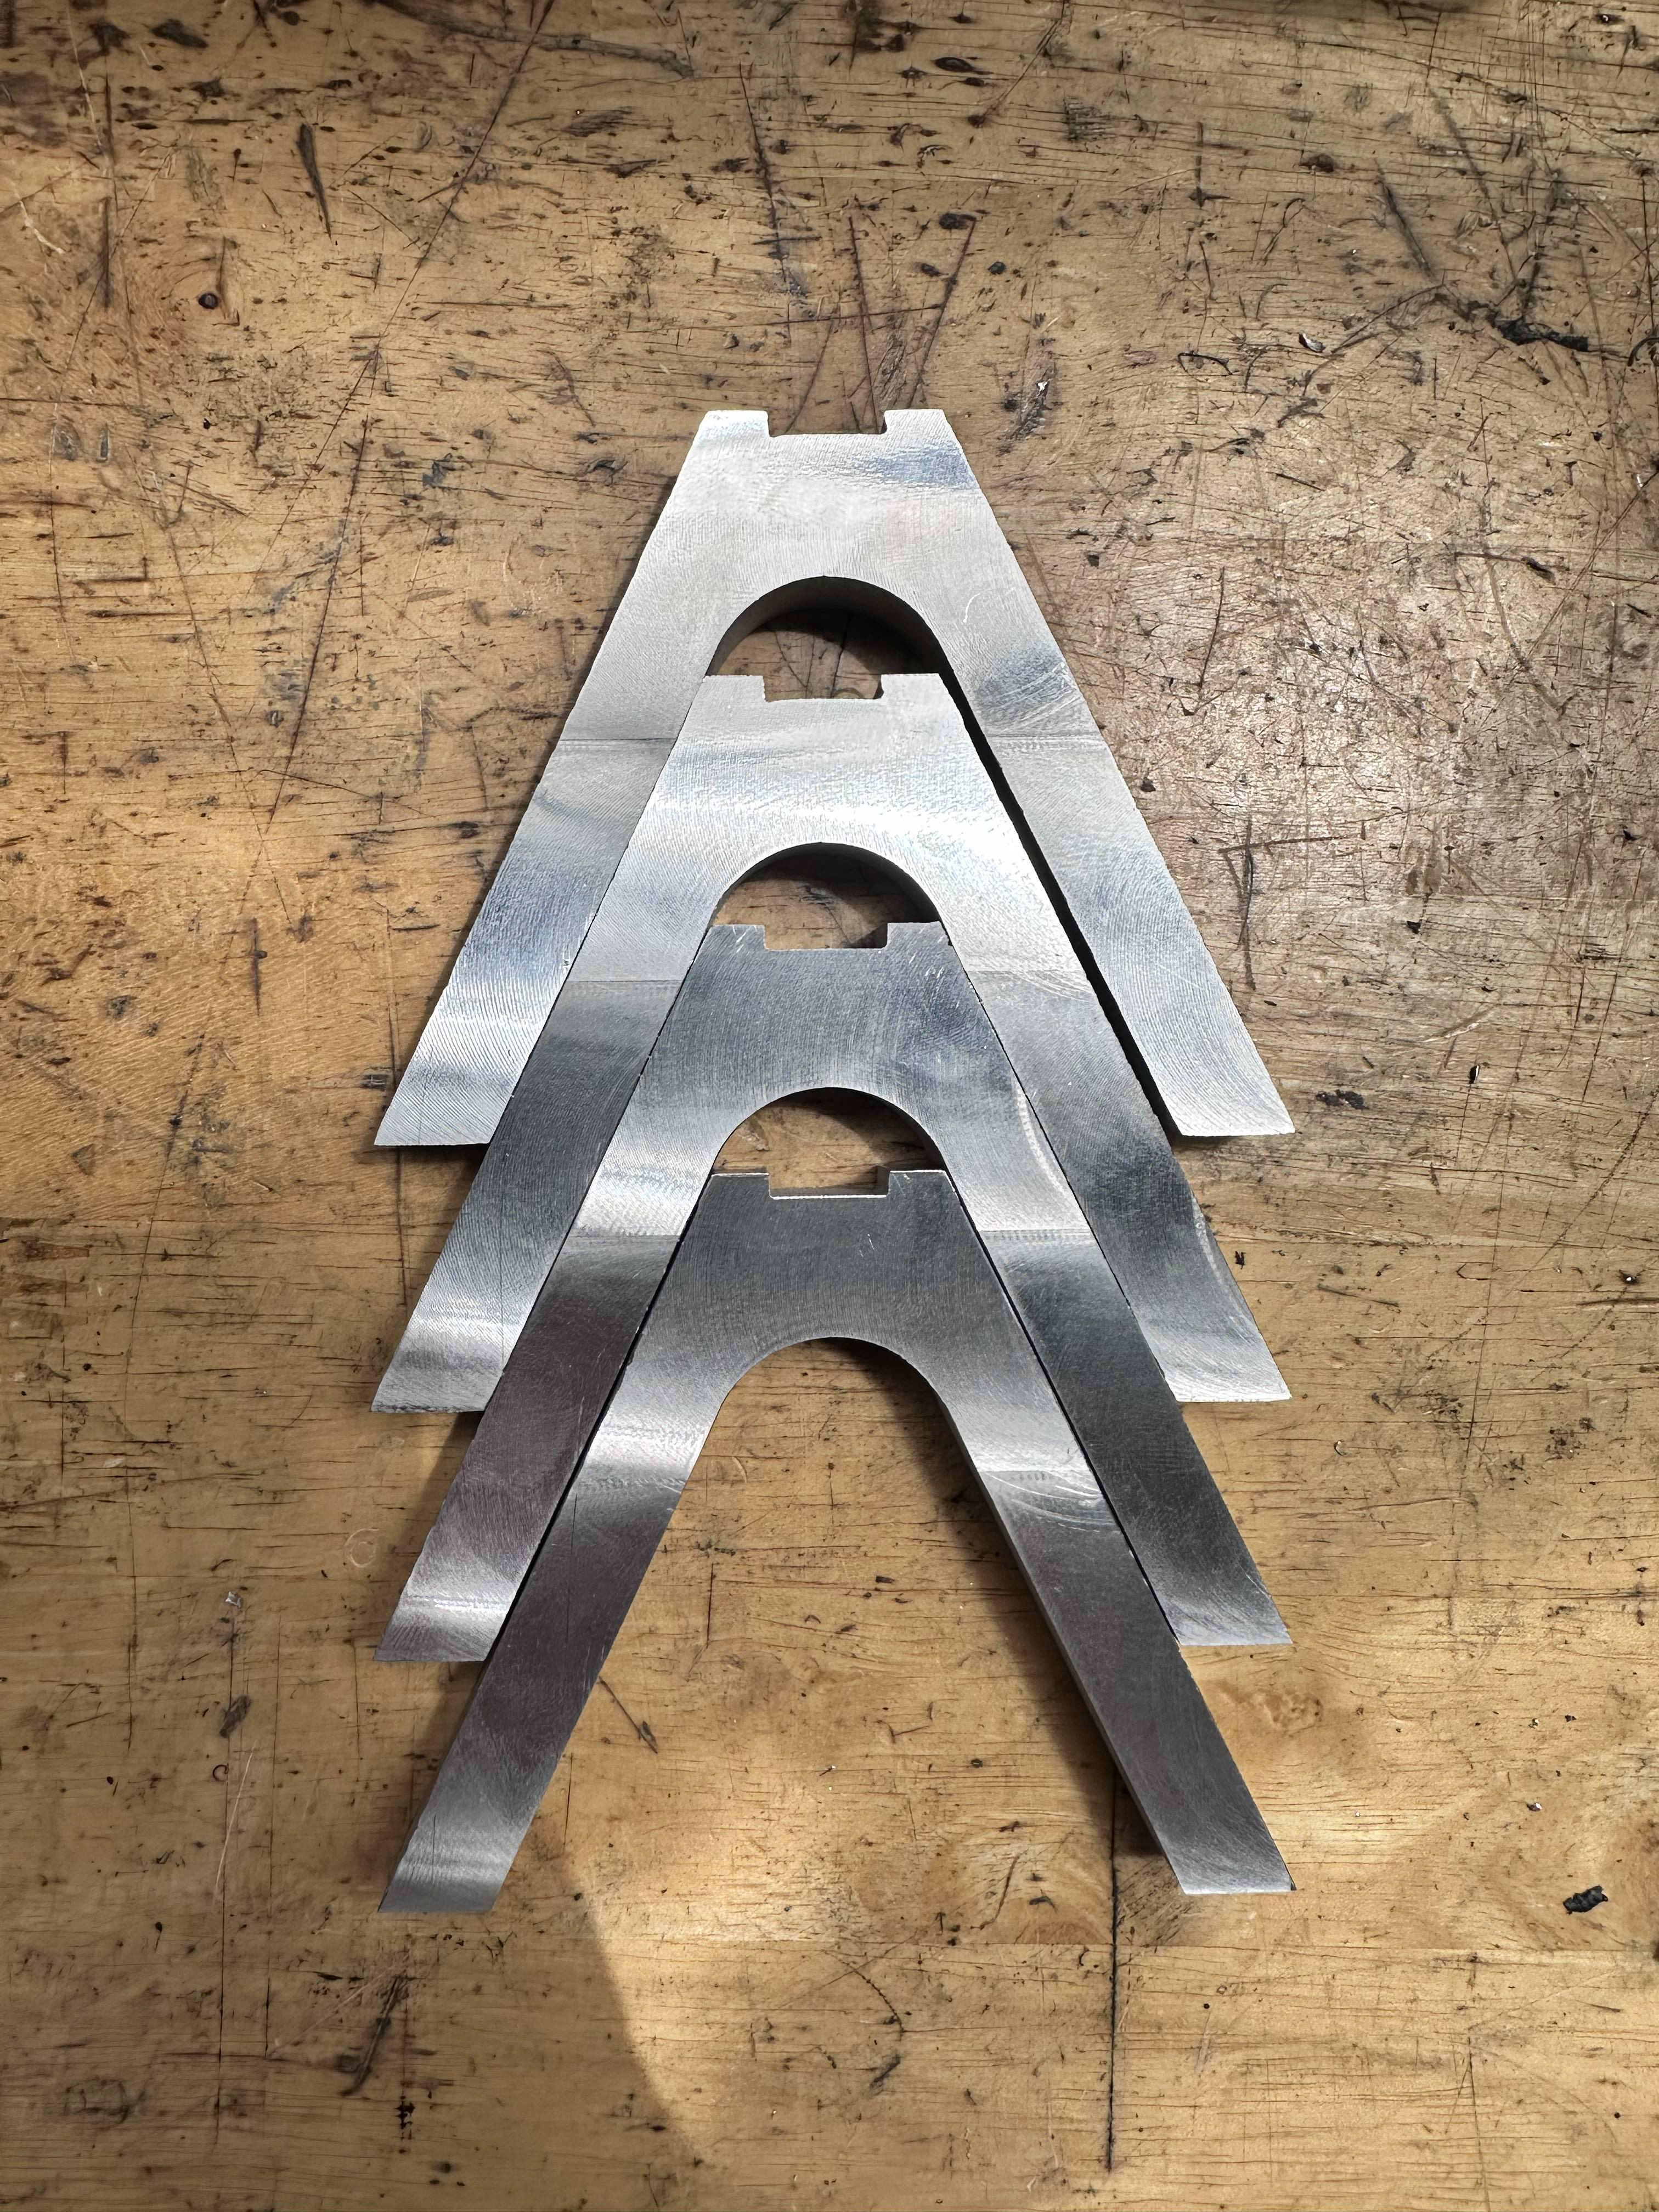
legs after a surface finish
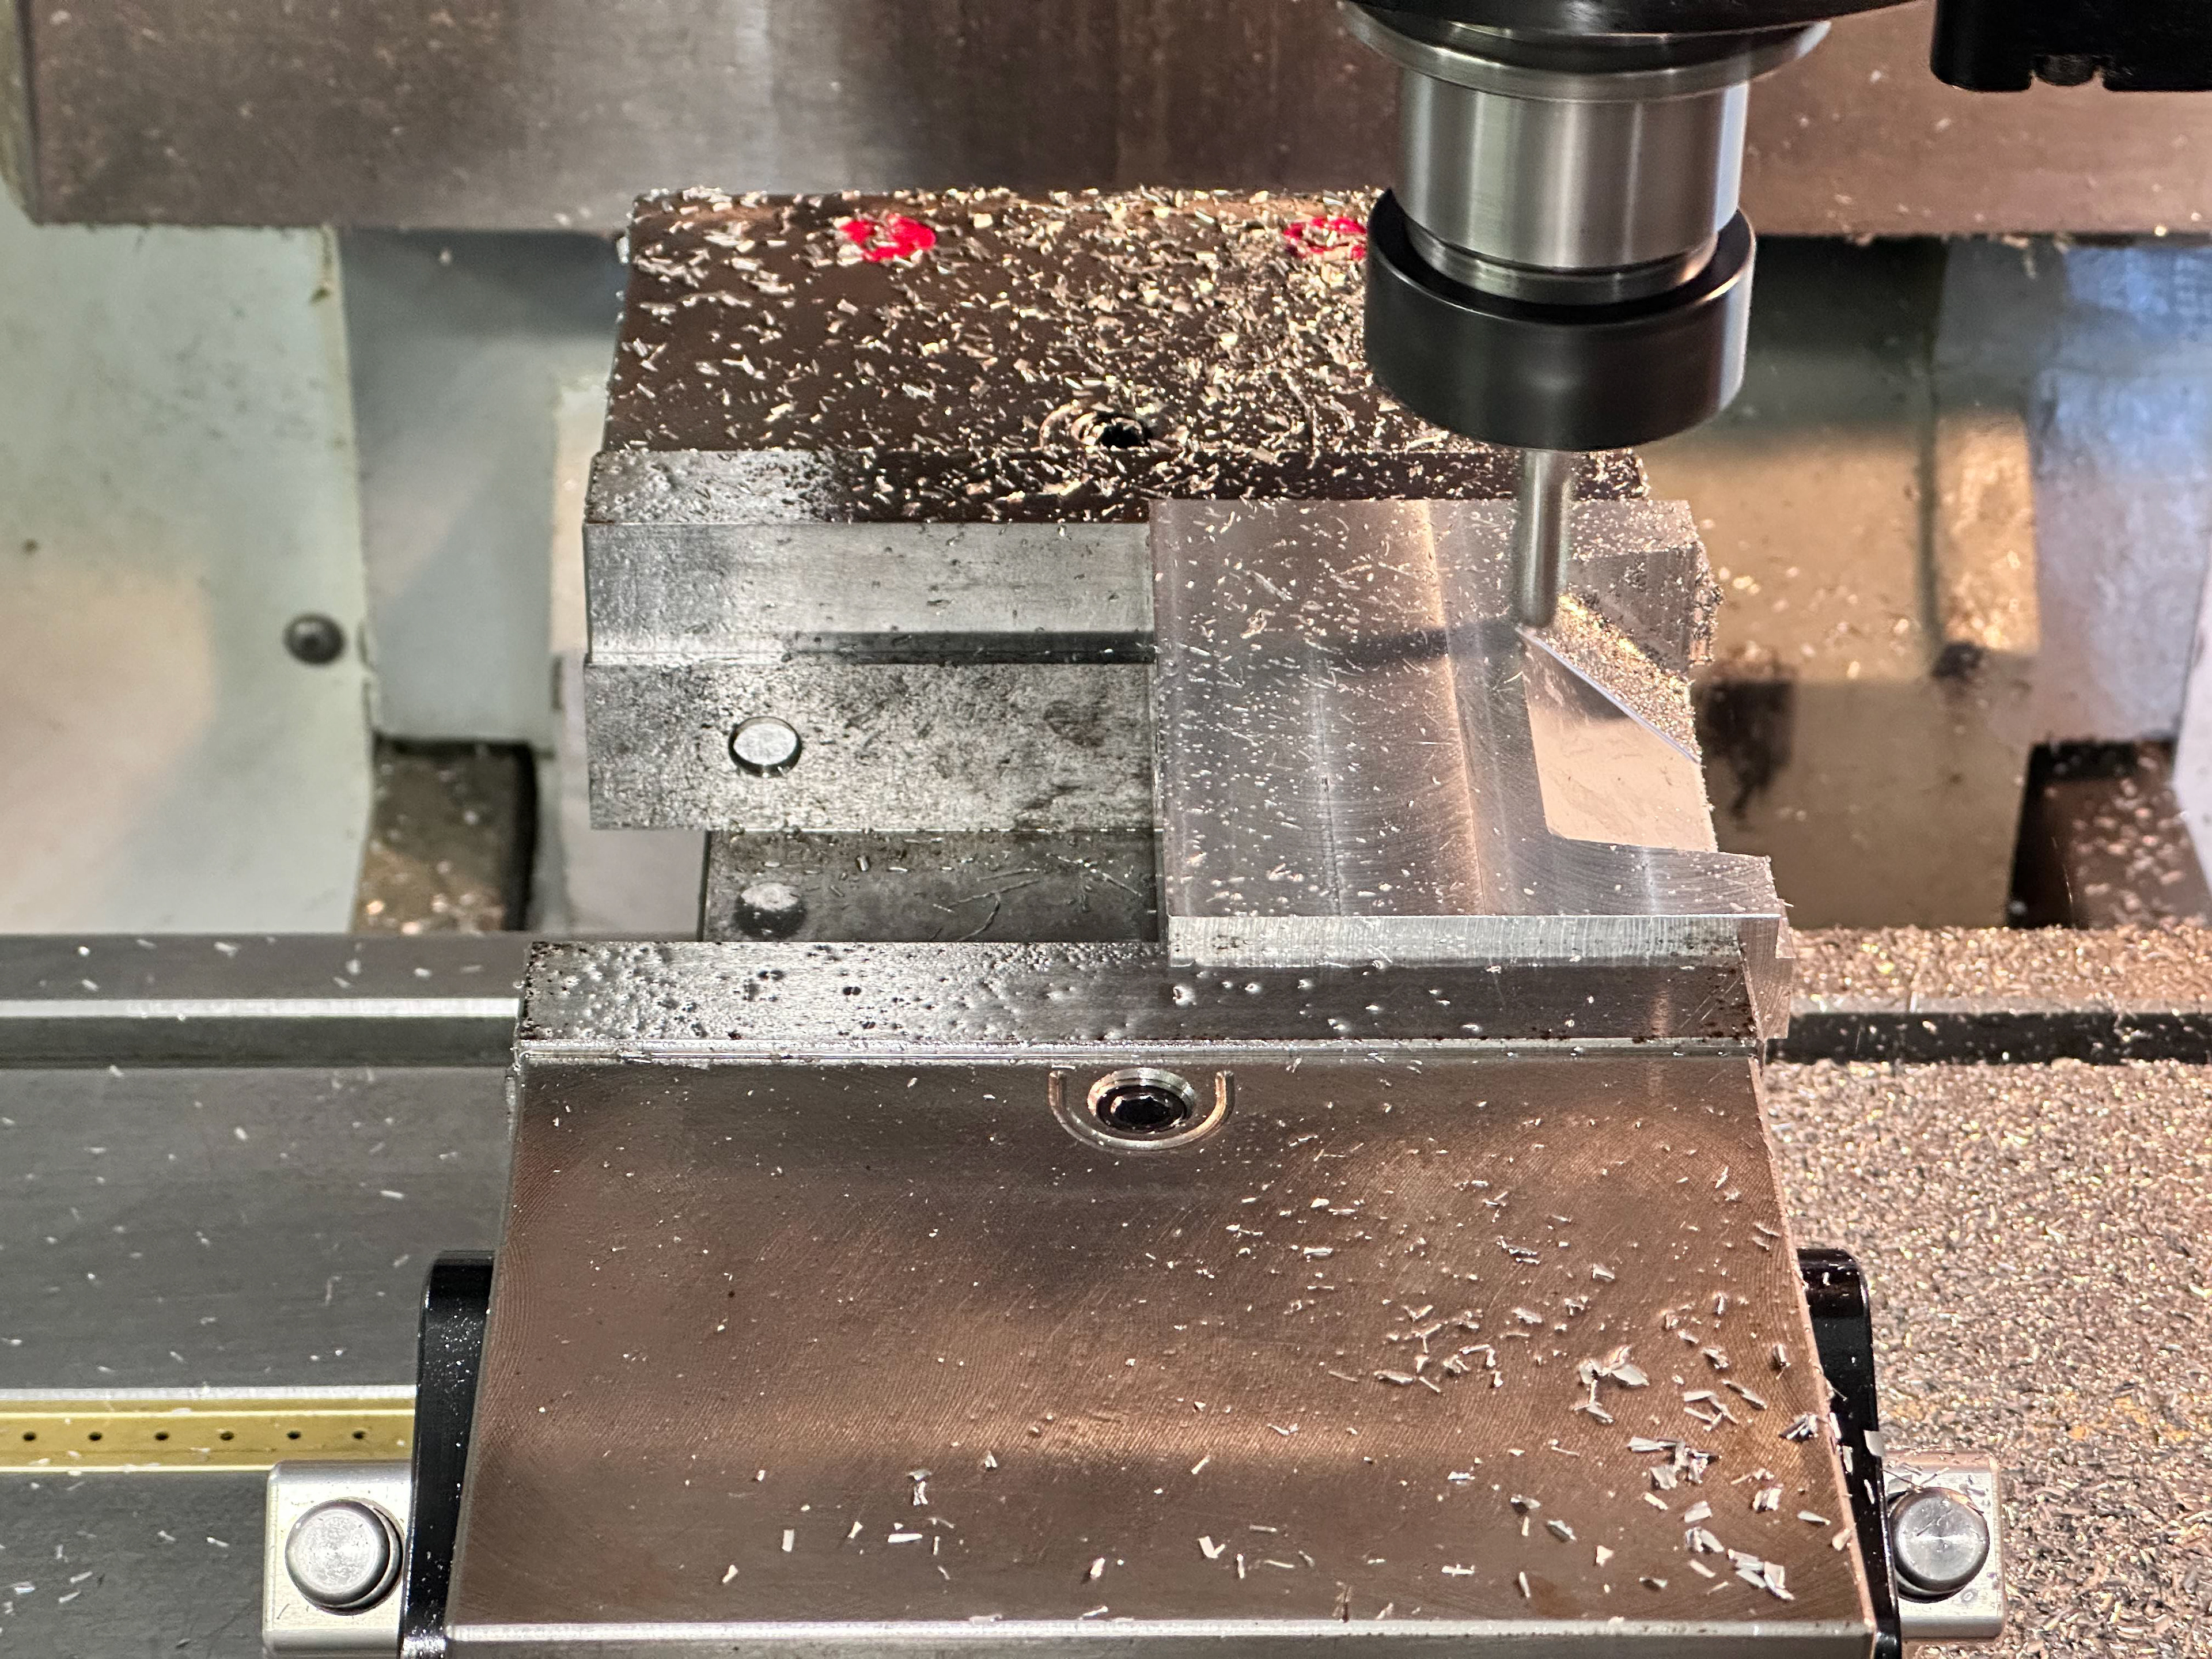
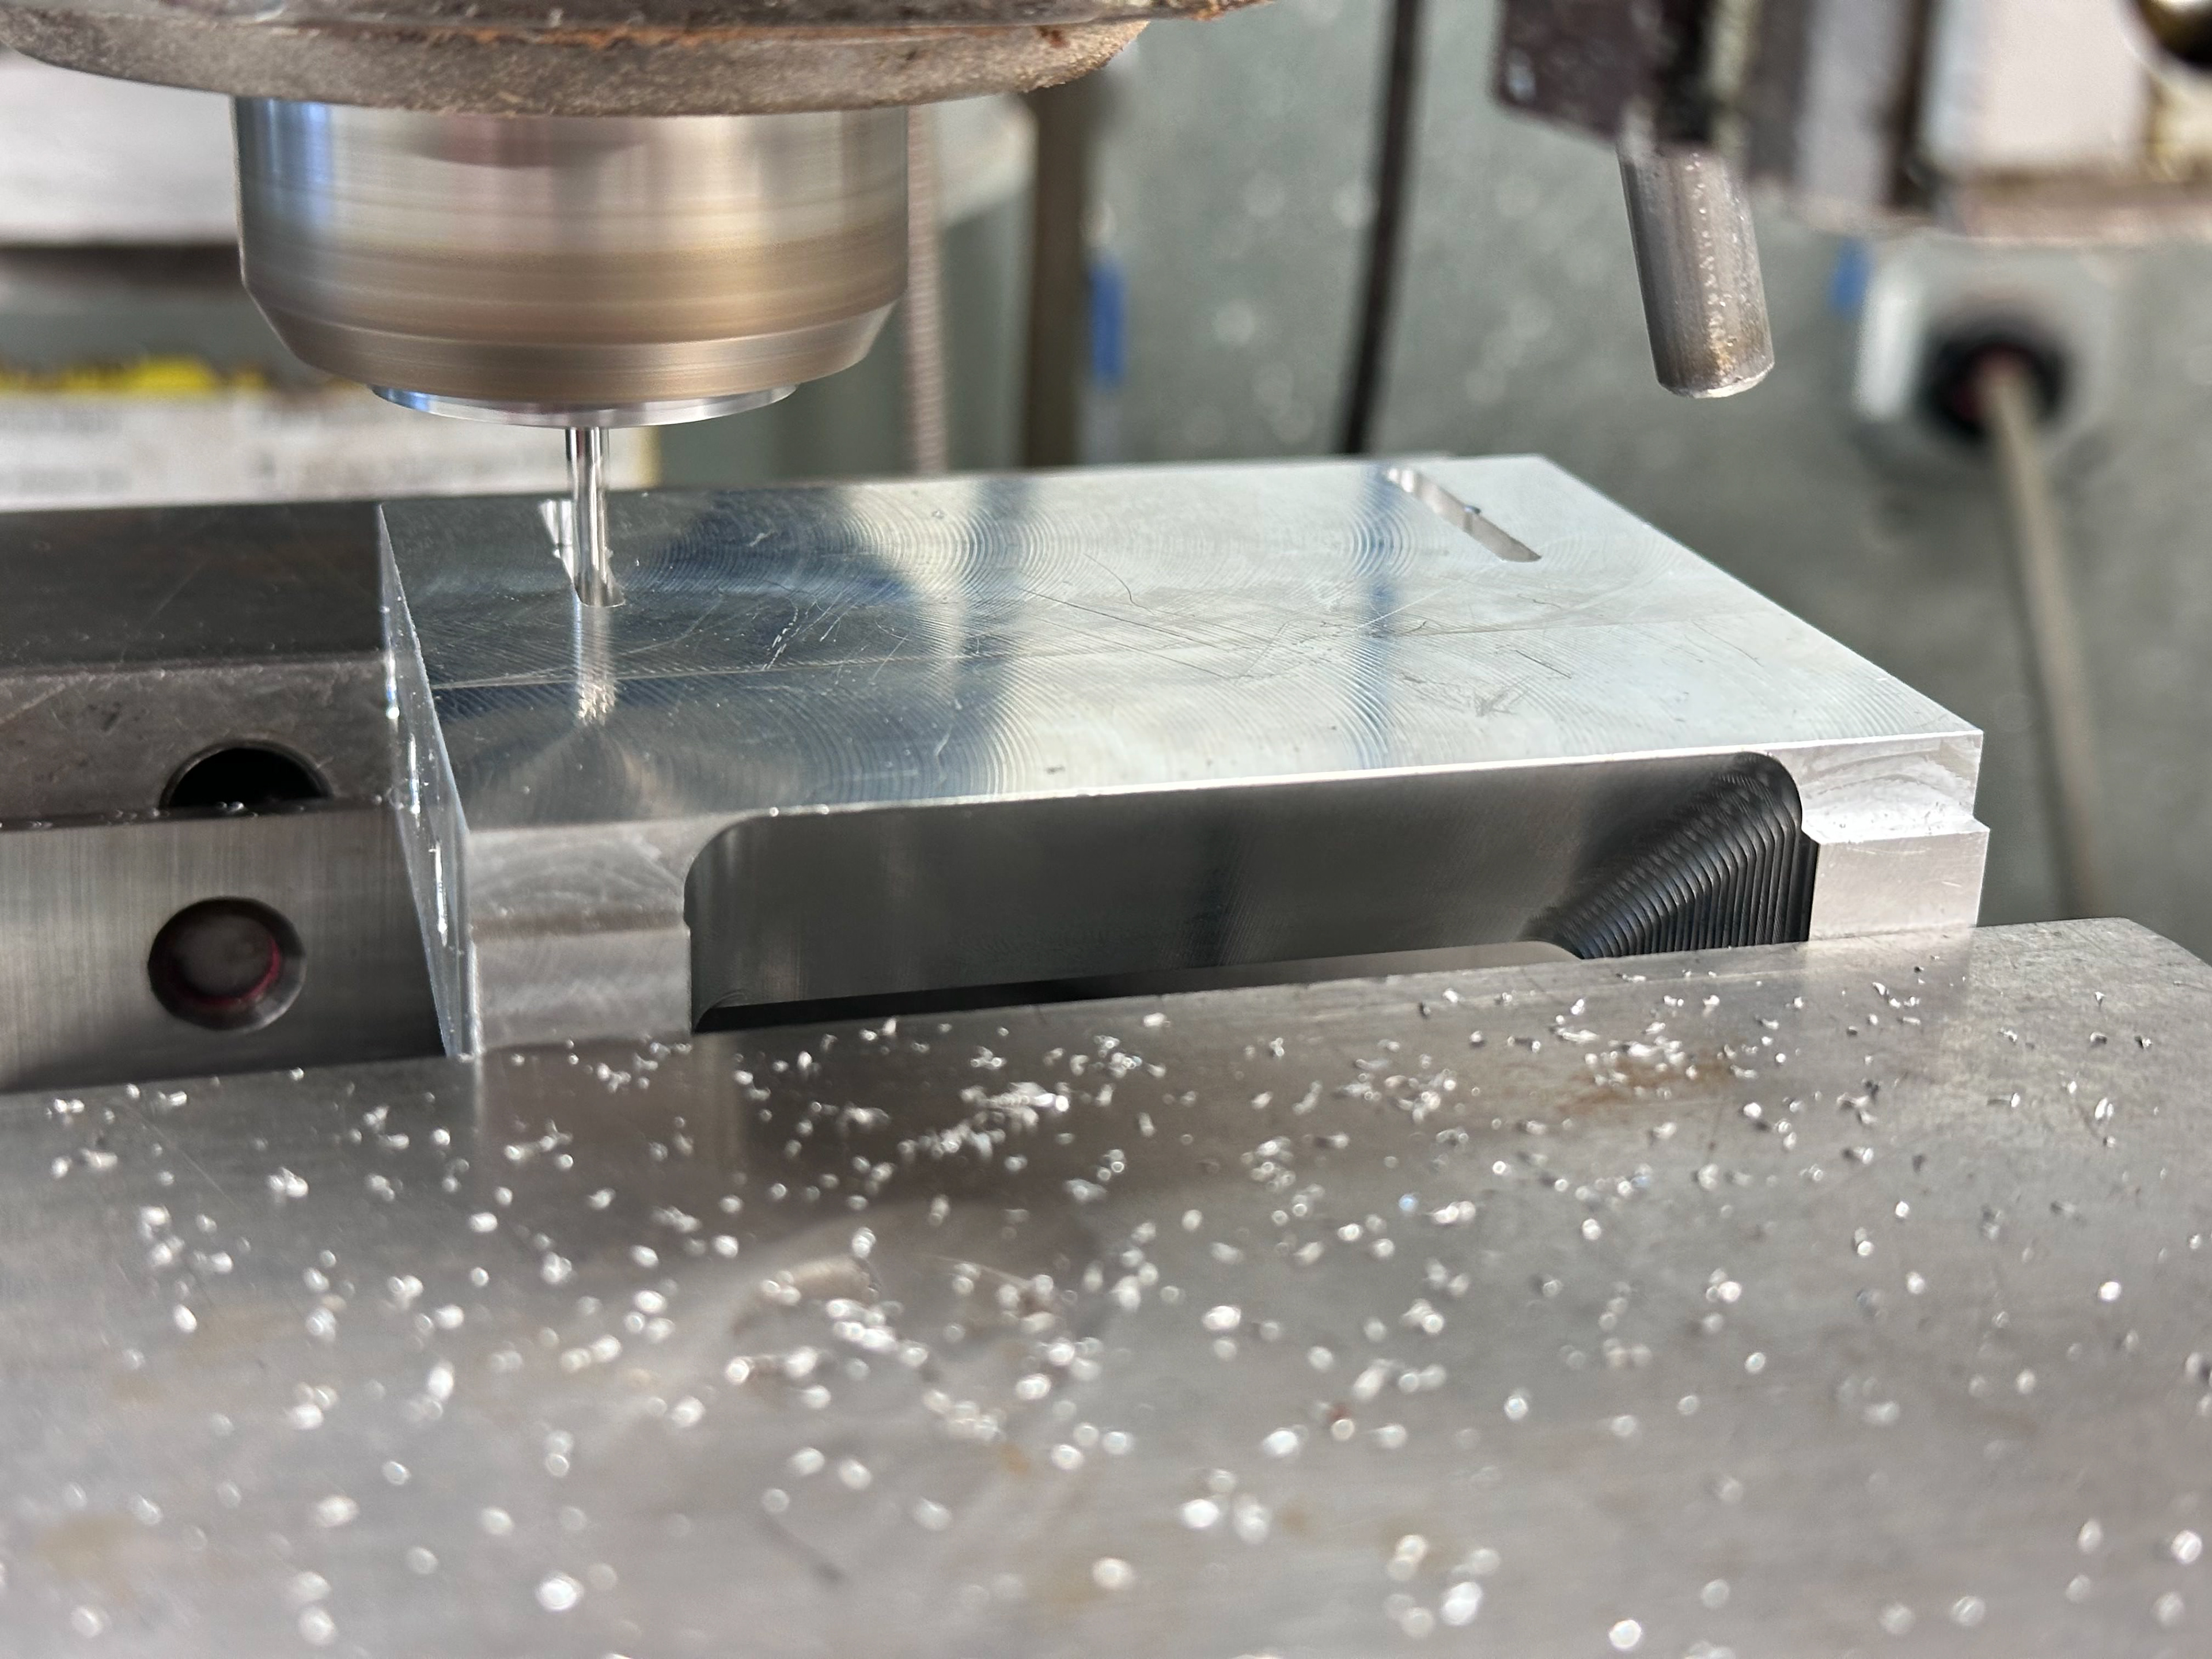
saddle in 3-axis cnc

our final design about all machining and welding processes
time lapse of 3-axis operation on the cup
Next, we sent the parts out for anodizing to enhance their visibility and reduce water adhesion when submerged in the pool. This surface treatment not only improved the appearance but also added a layer of corrosion resistance. After anodizing was complete, steel threaded inserts were pressed into place using an arbor press, ensuring secure and durable connections for the final assembly.
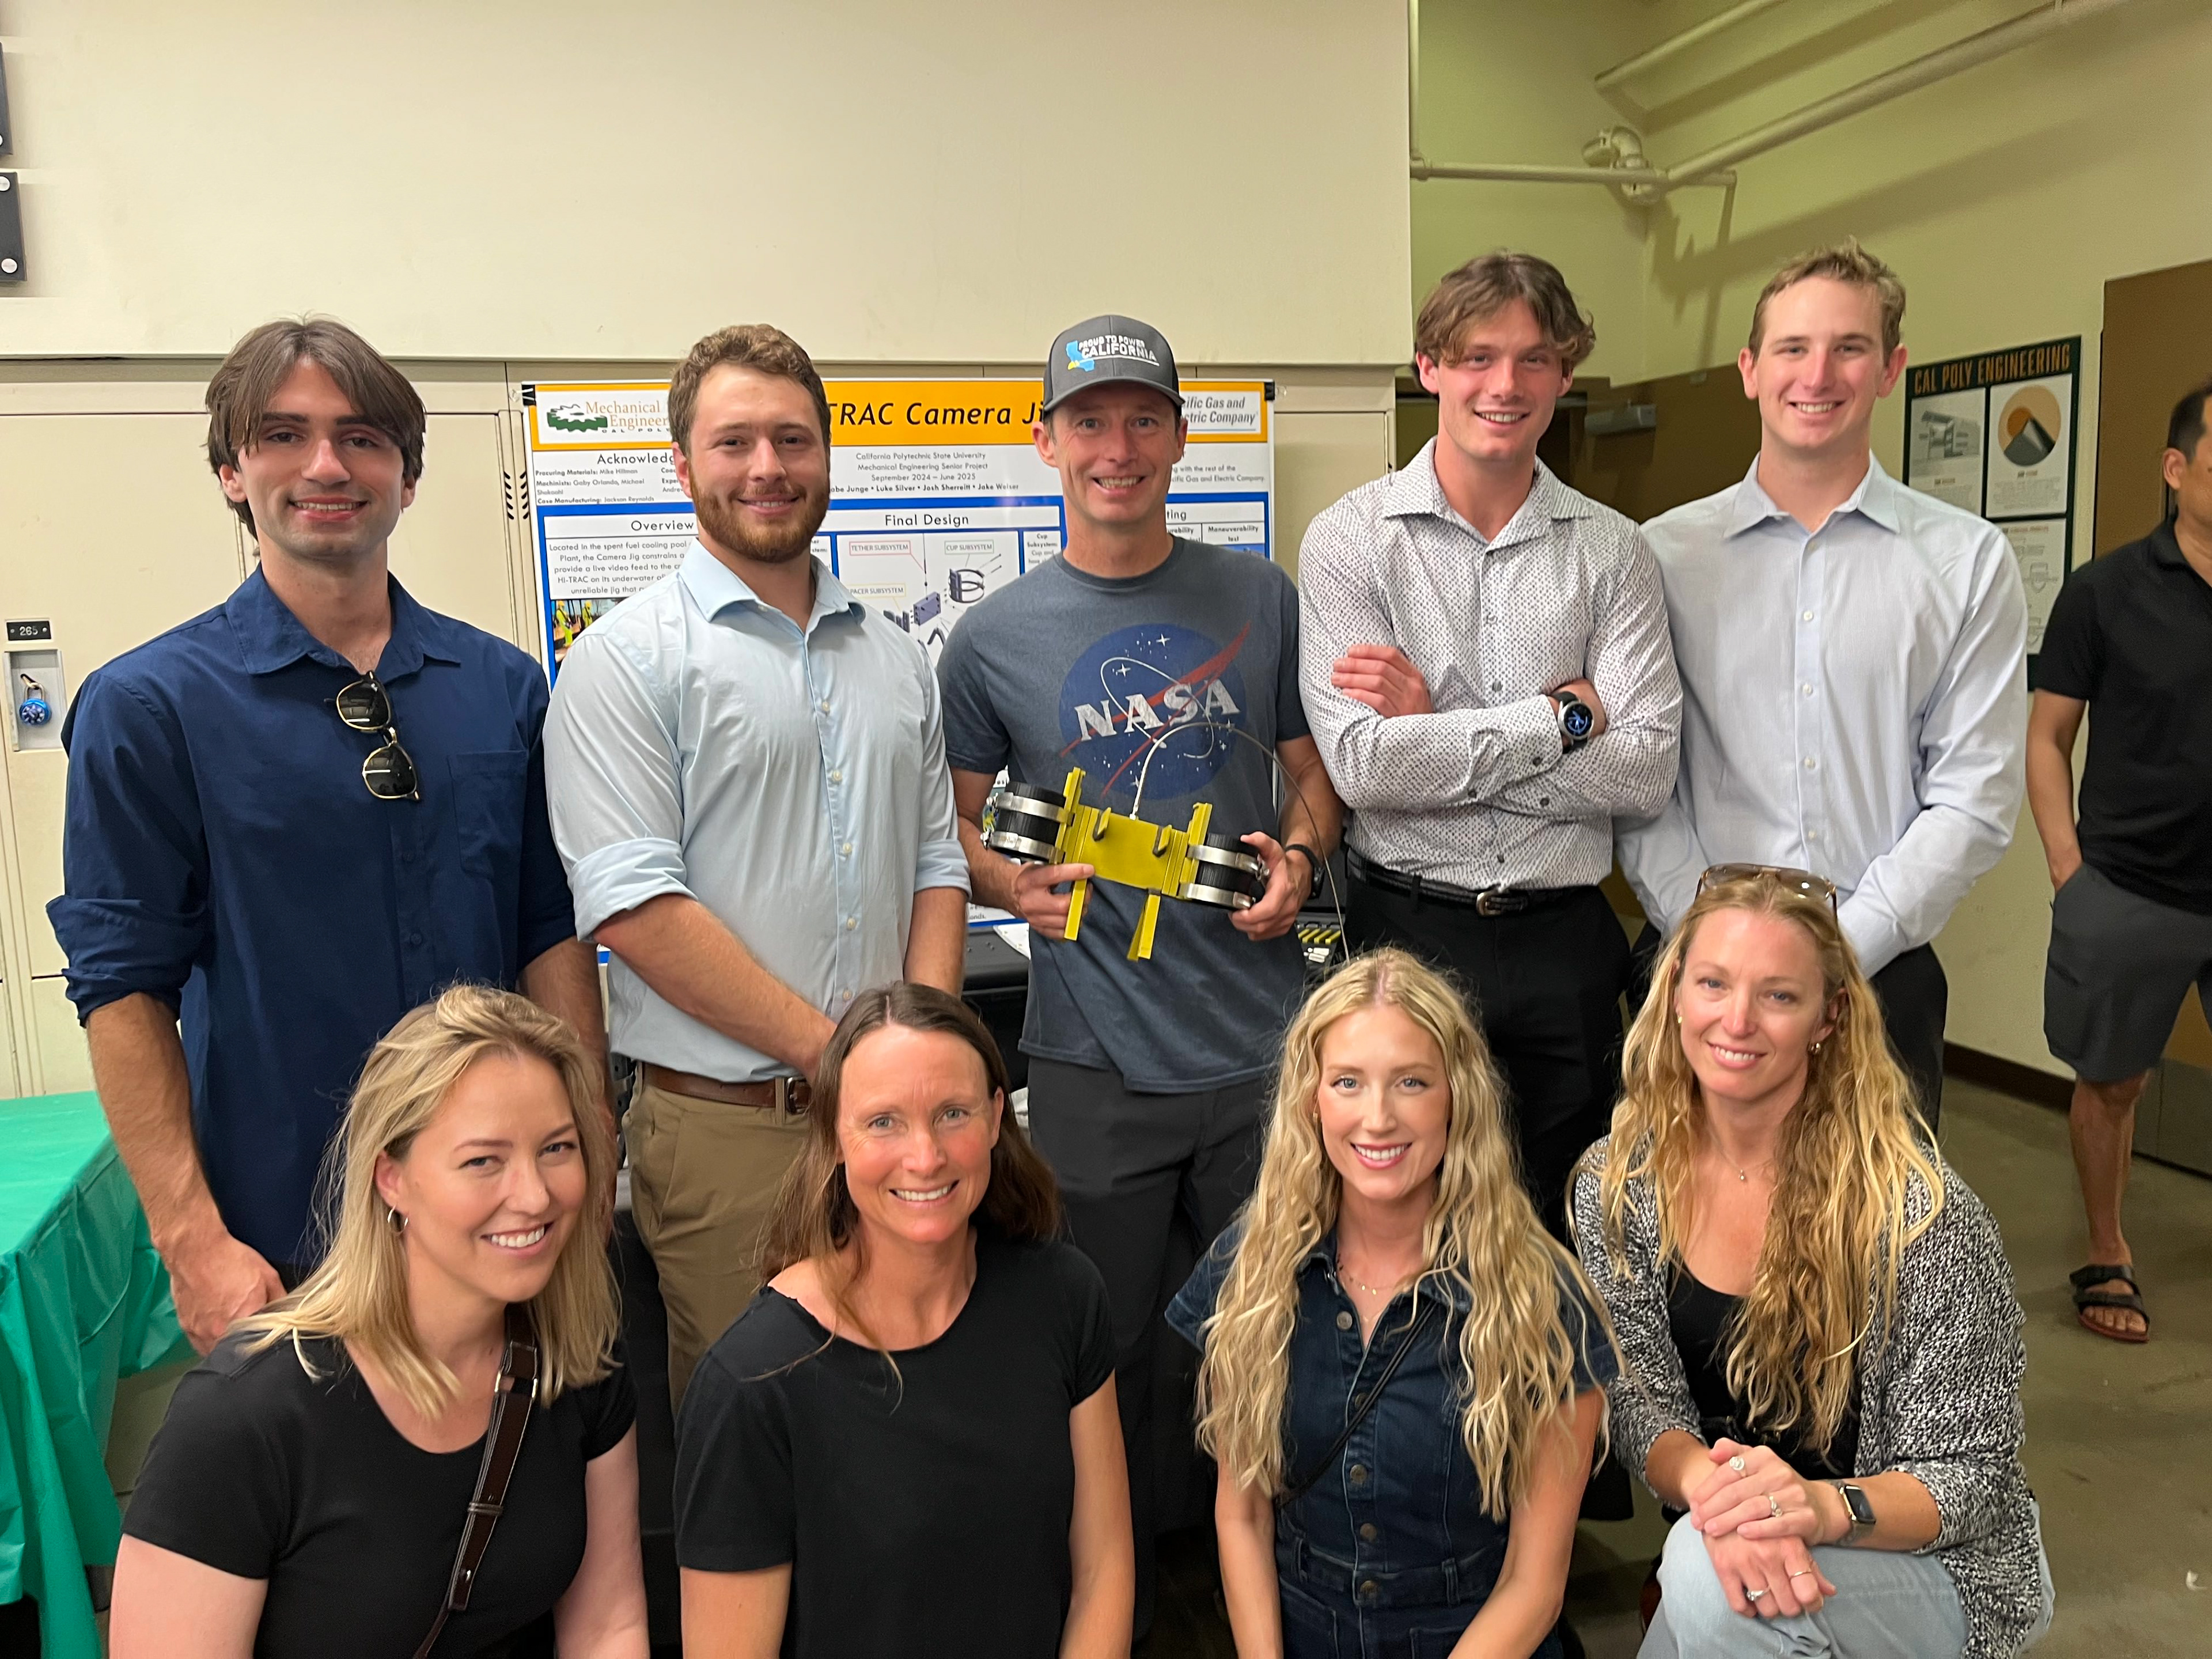

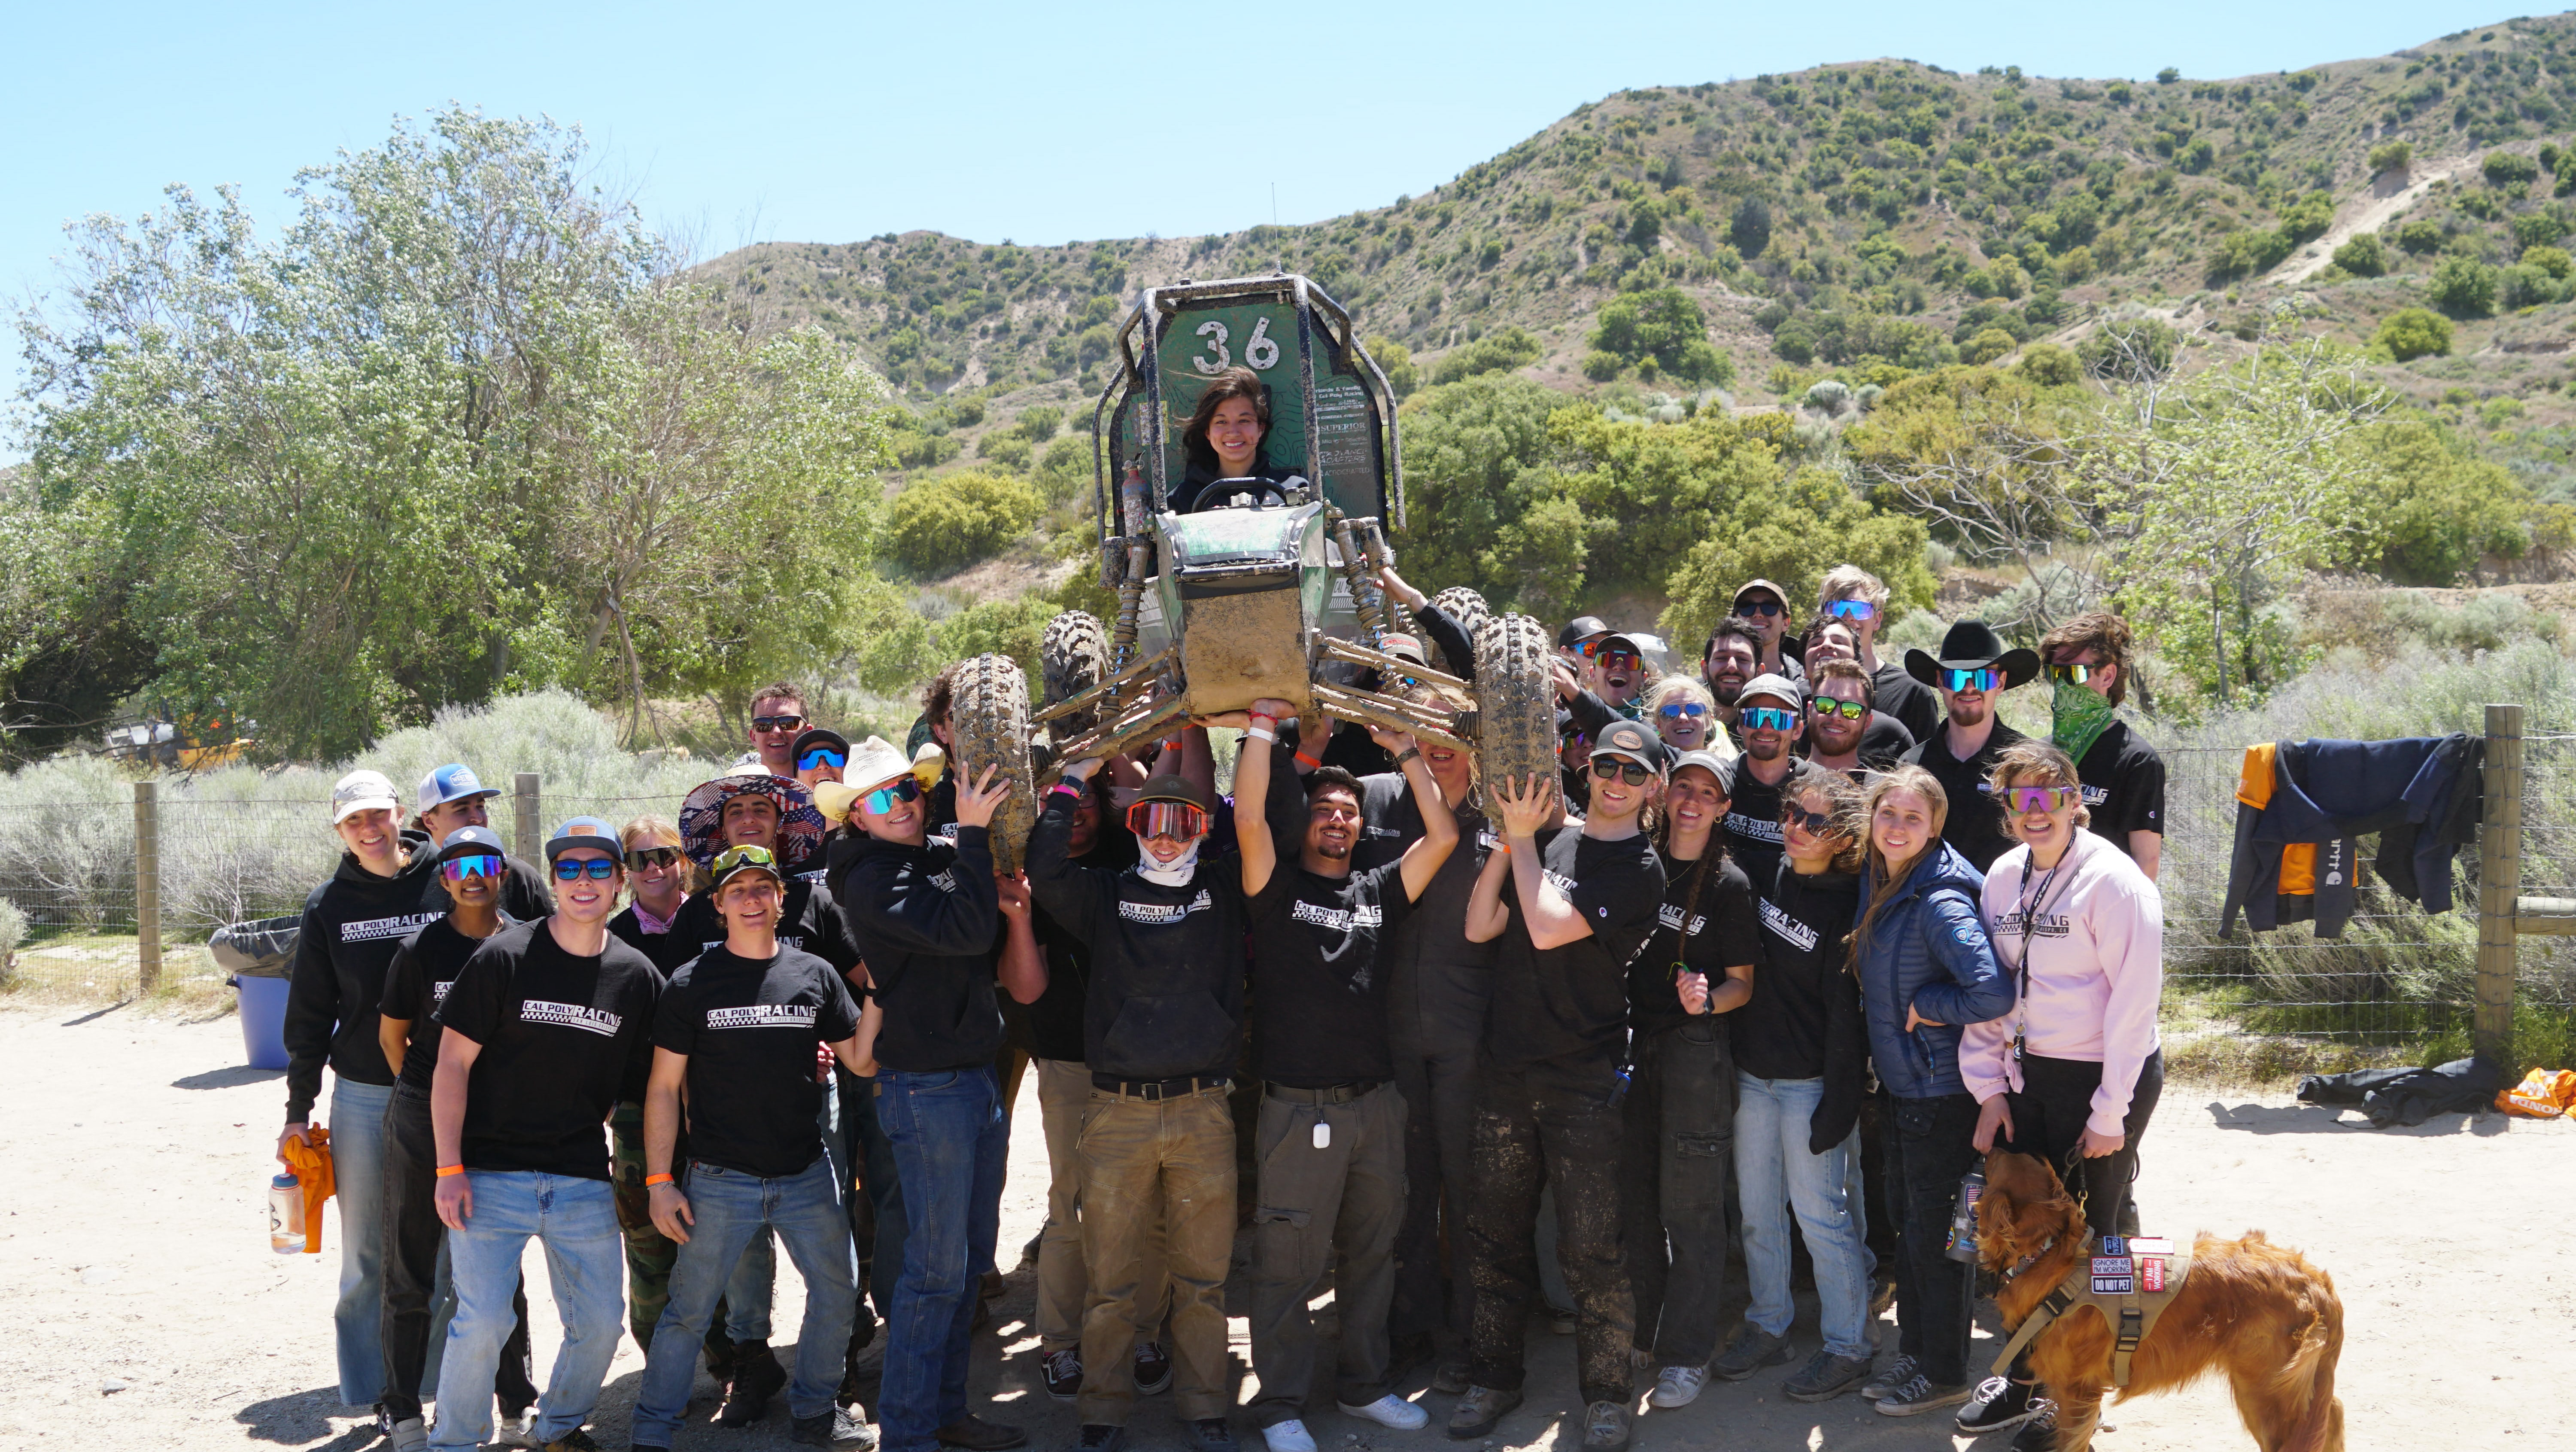
The Team: